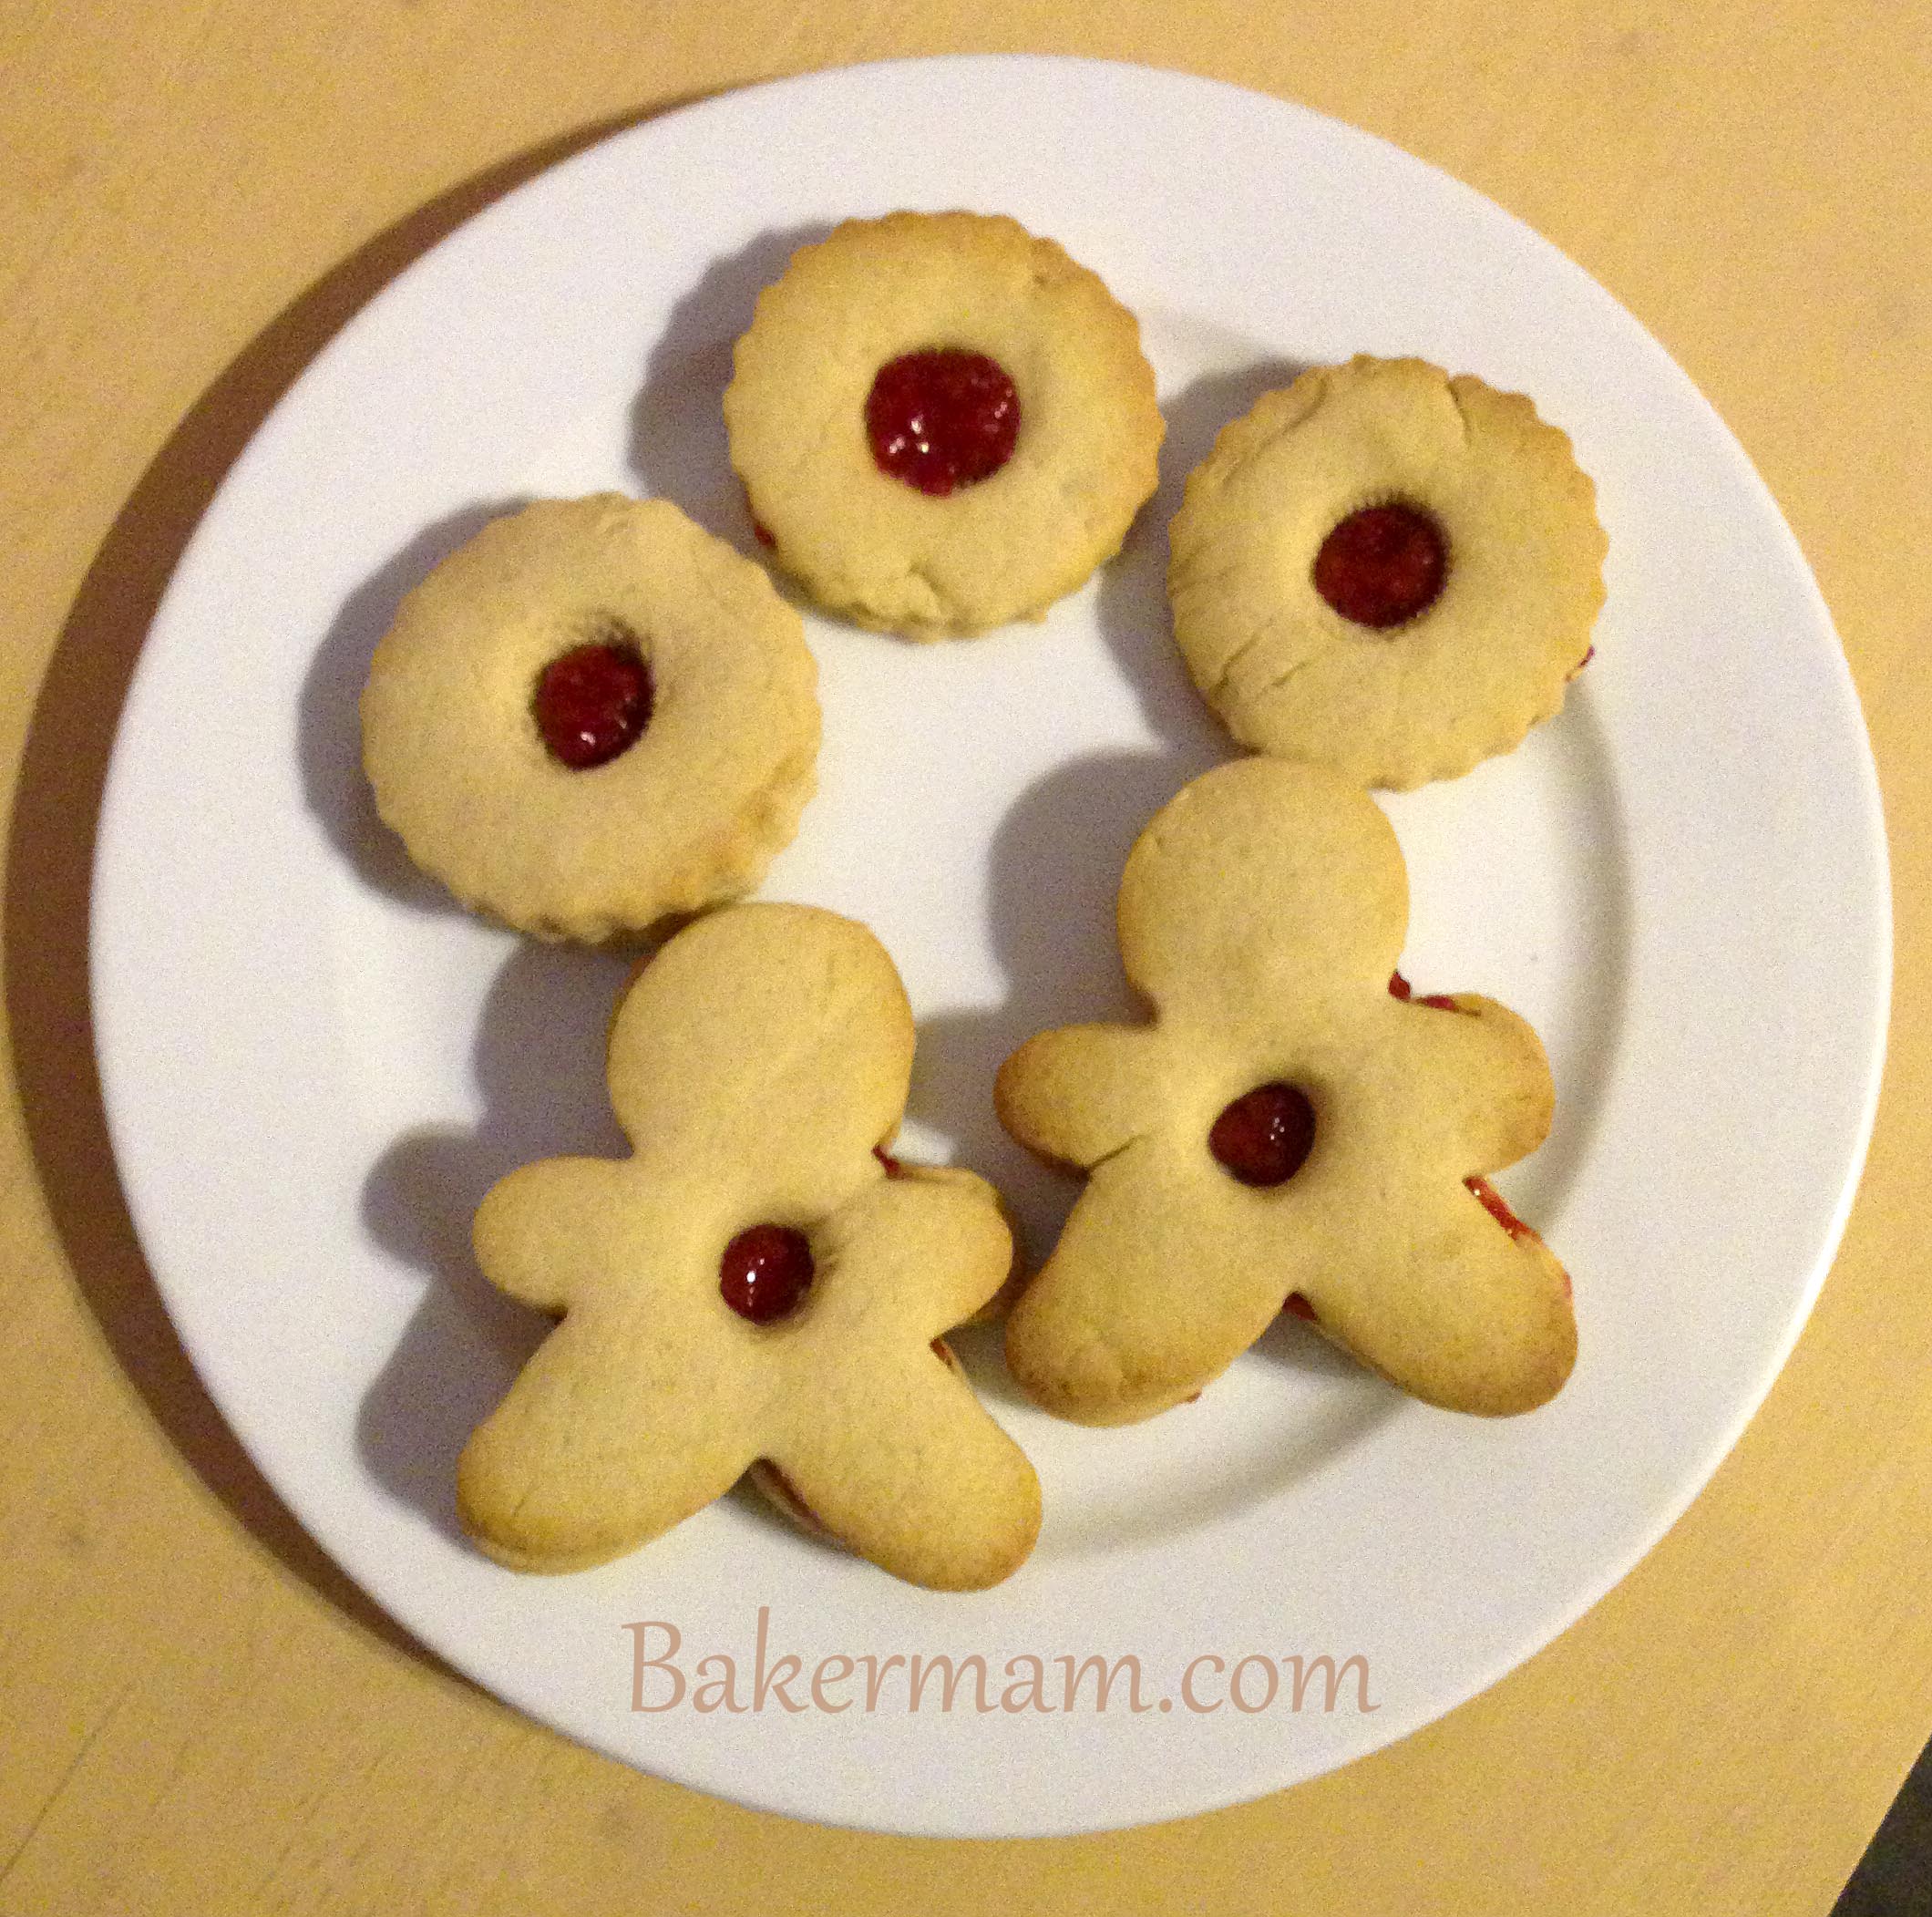
Gingerbread is a real Christmas biscuit, the smell of it wafting through the house is magical! Any item of food that can be decorated without constraint is a winner in my child’s eyes so we decided to bake some Christmas treats that Zoe could get creative with.
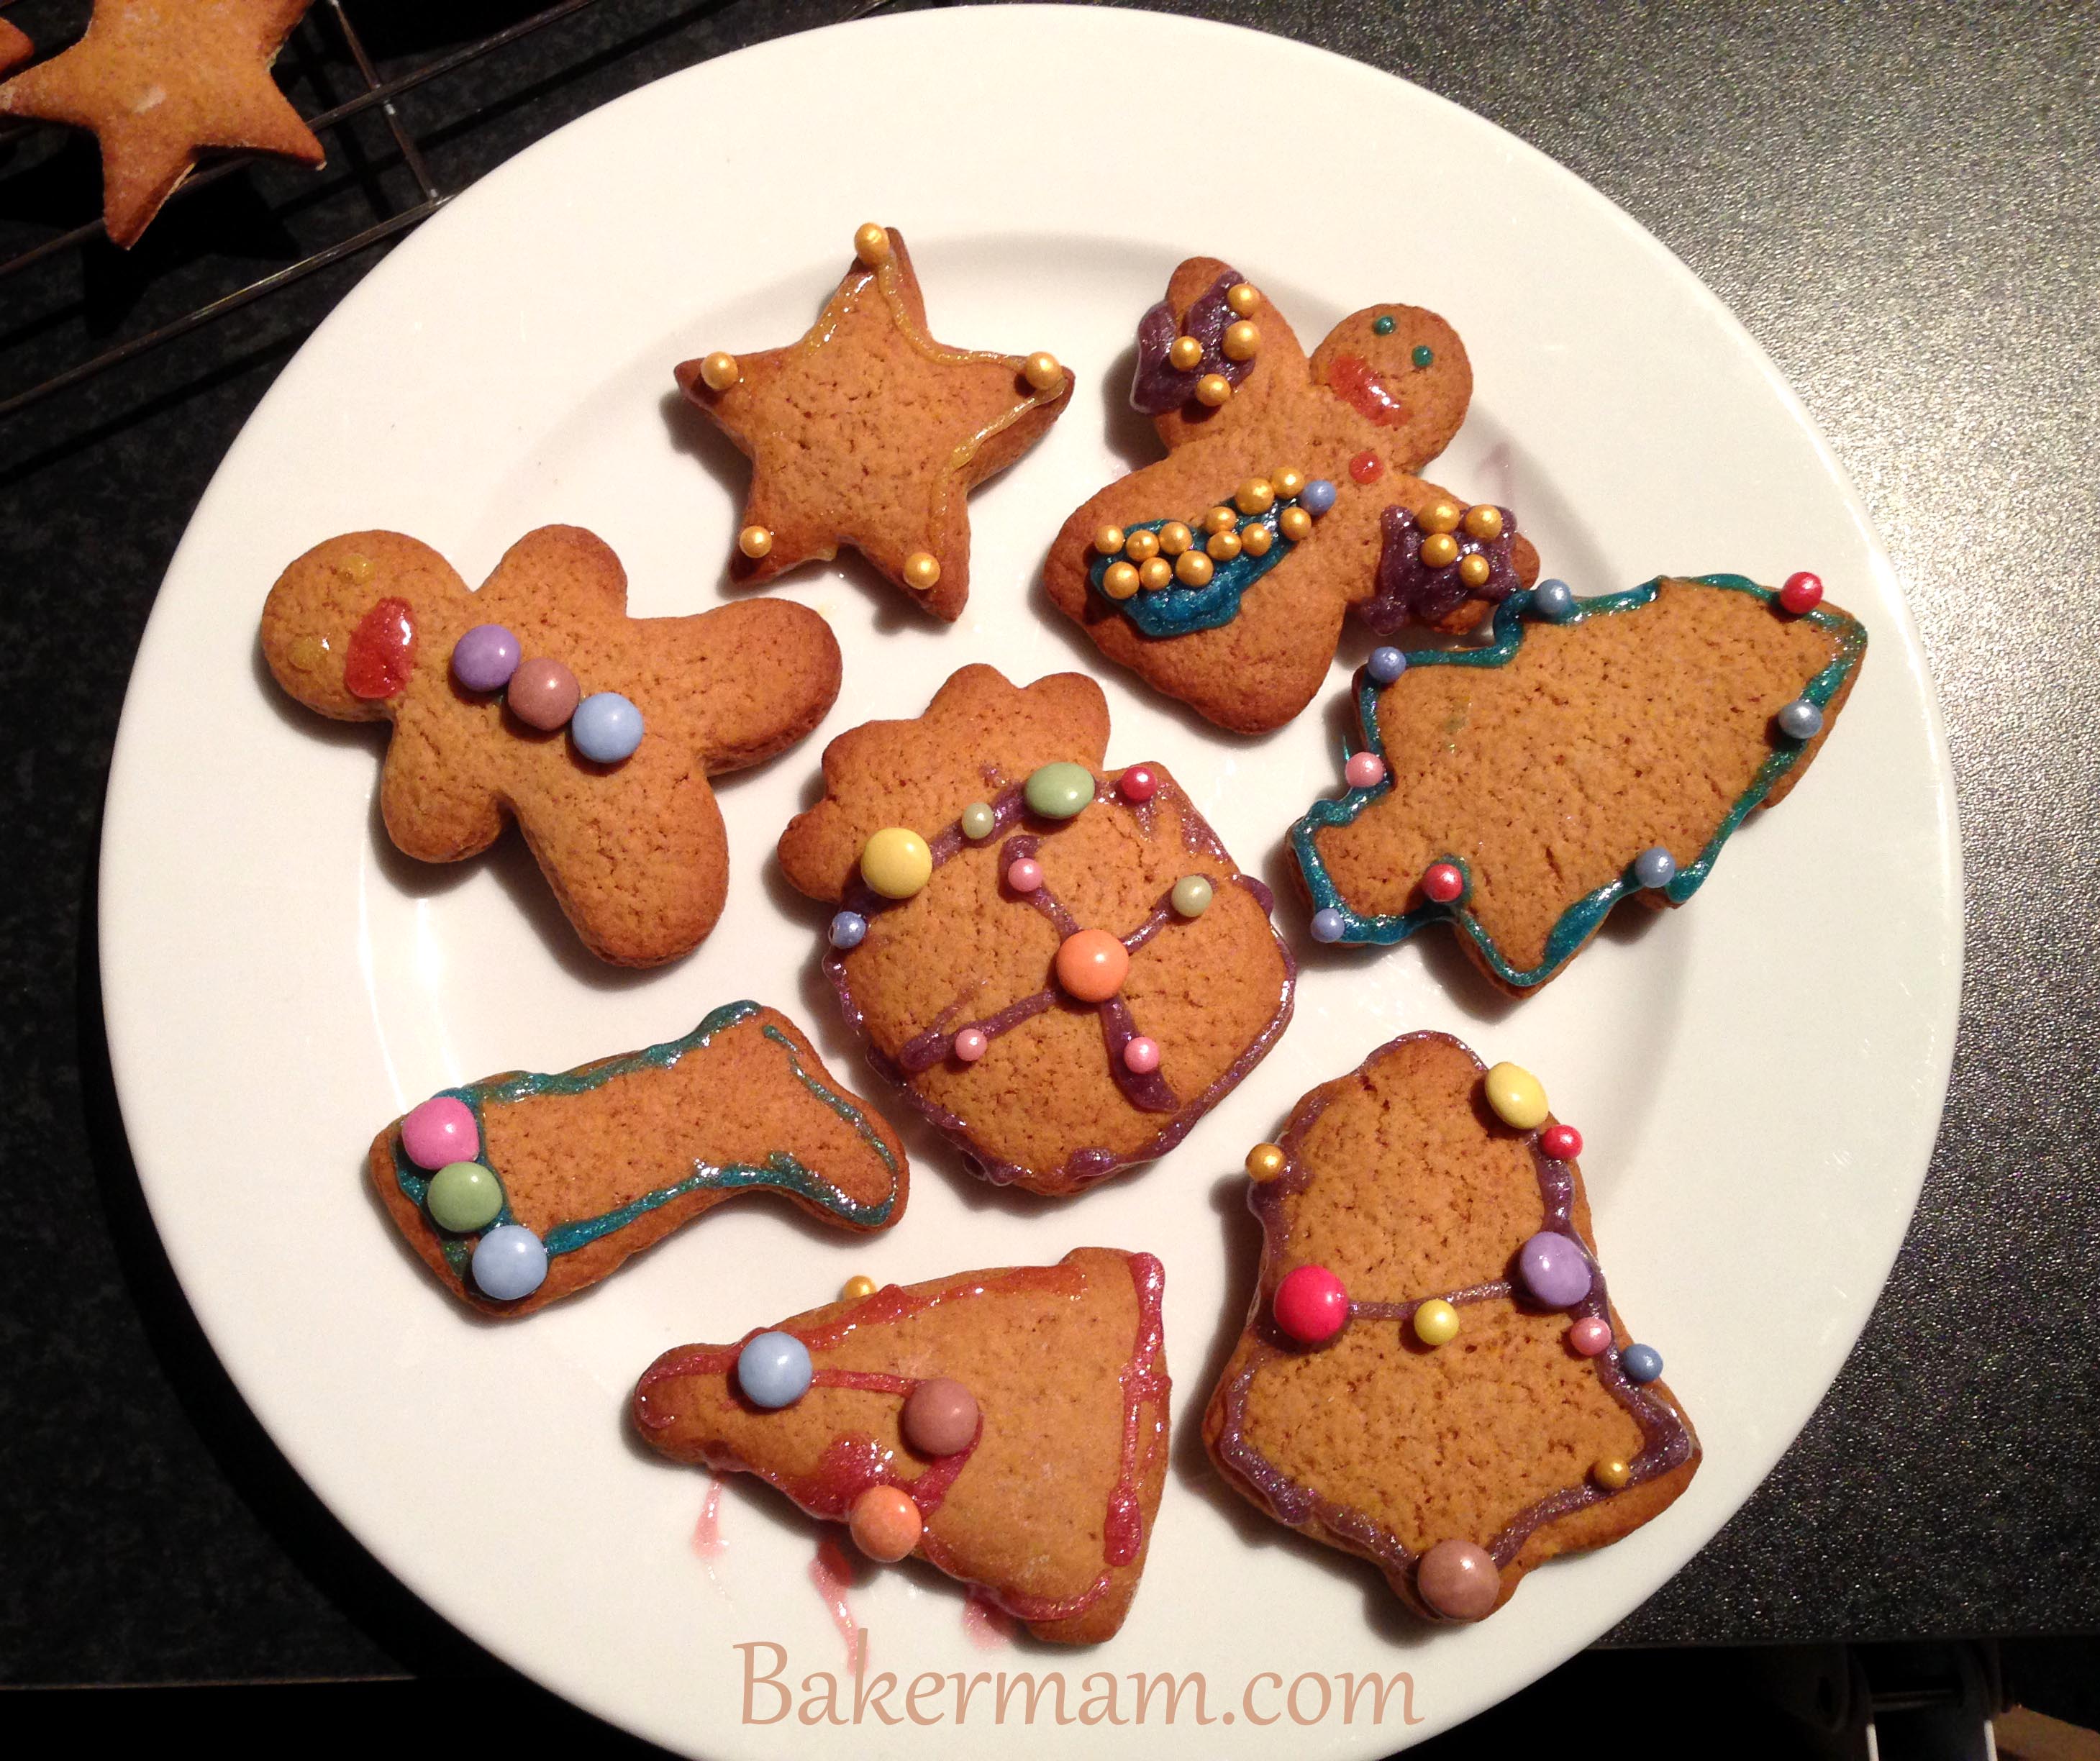
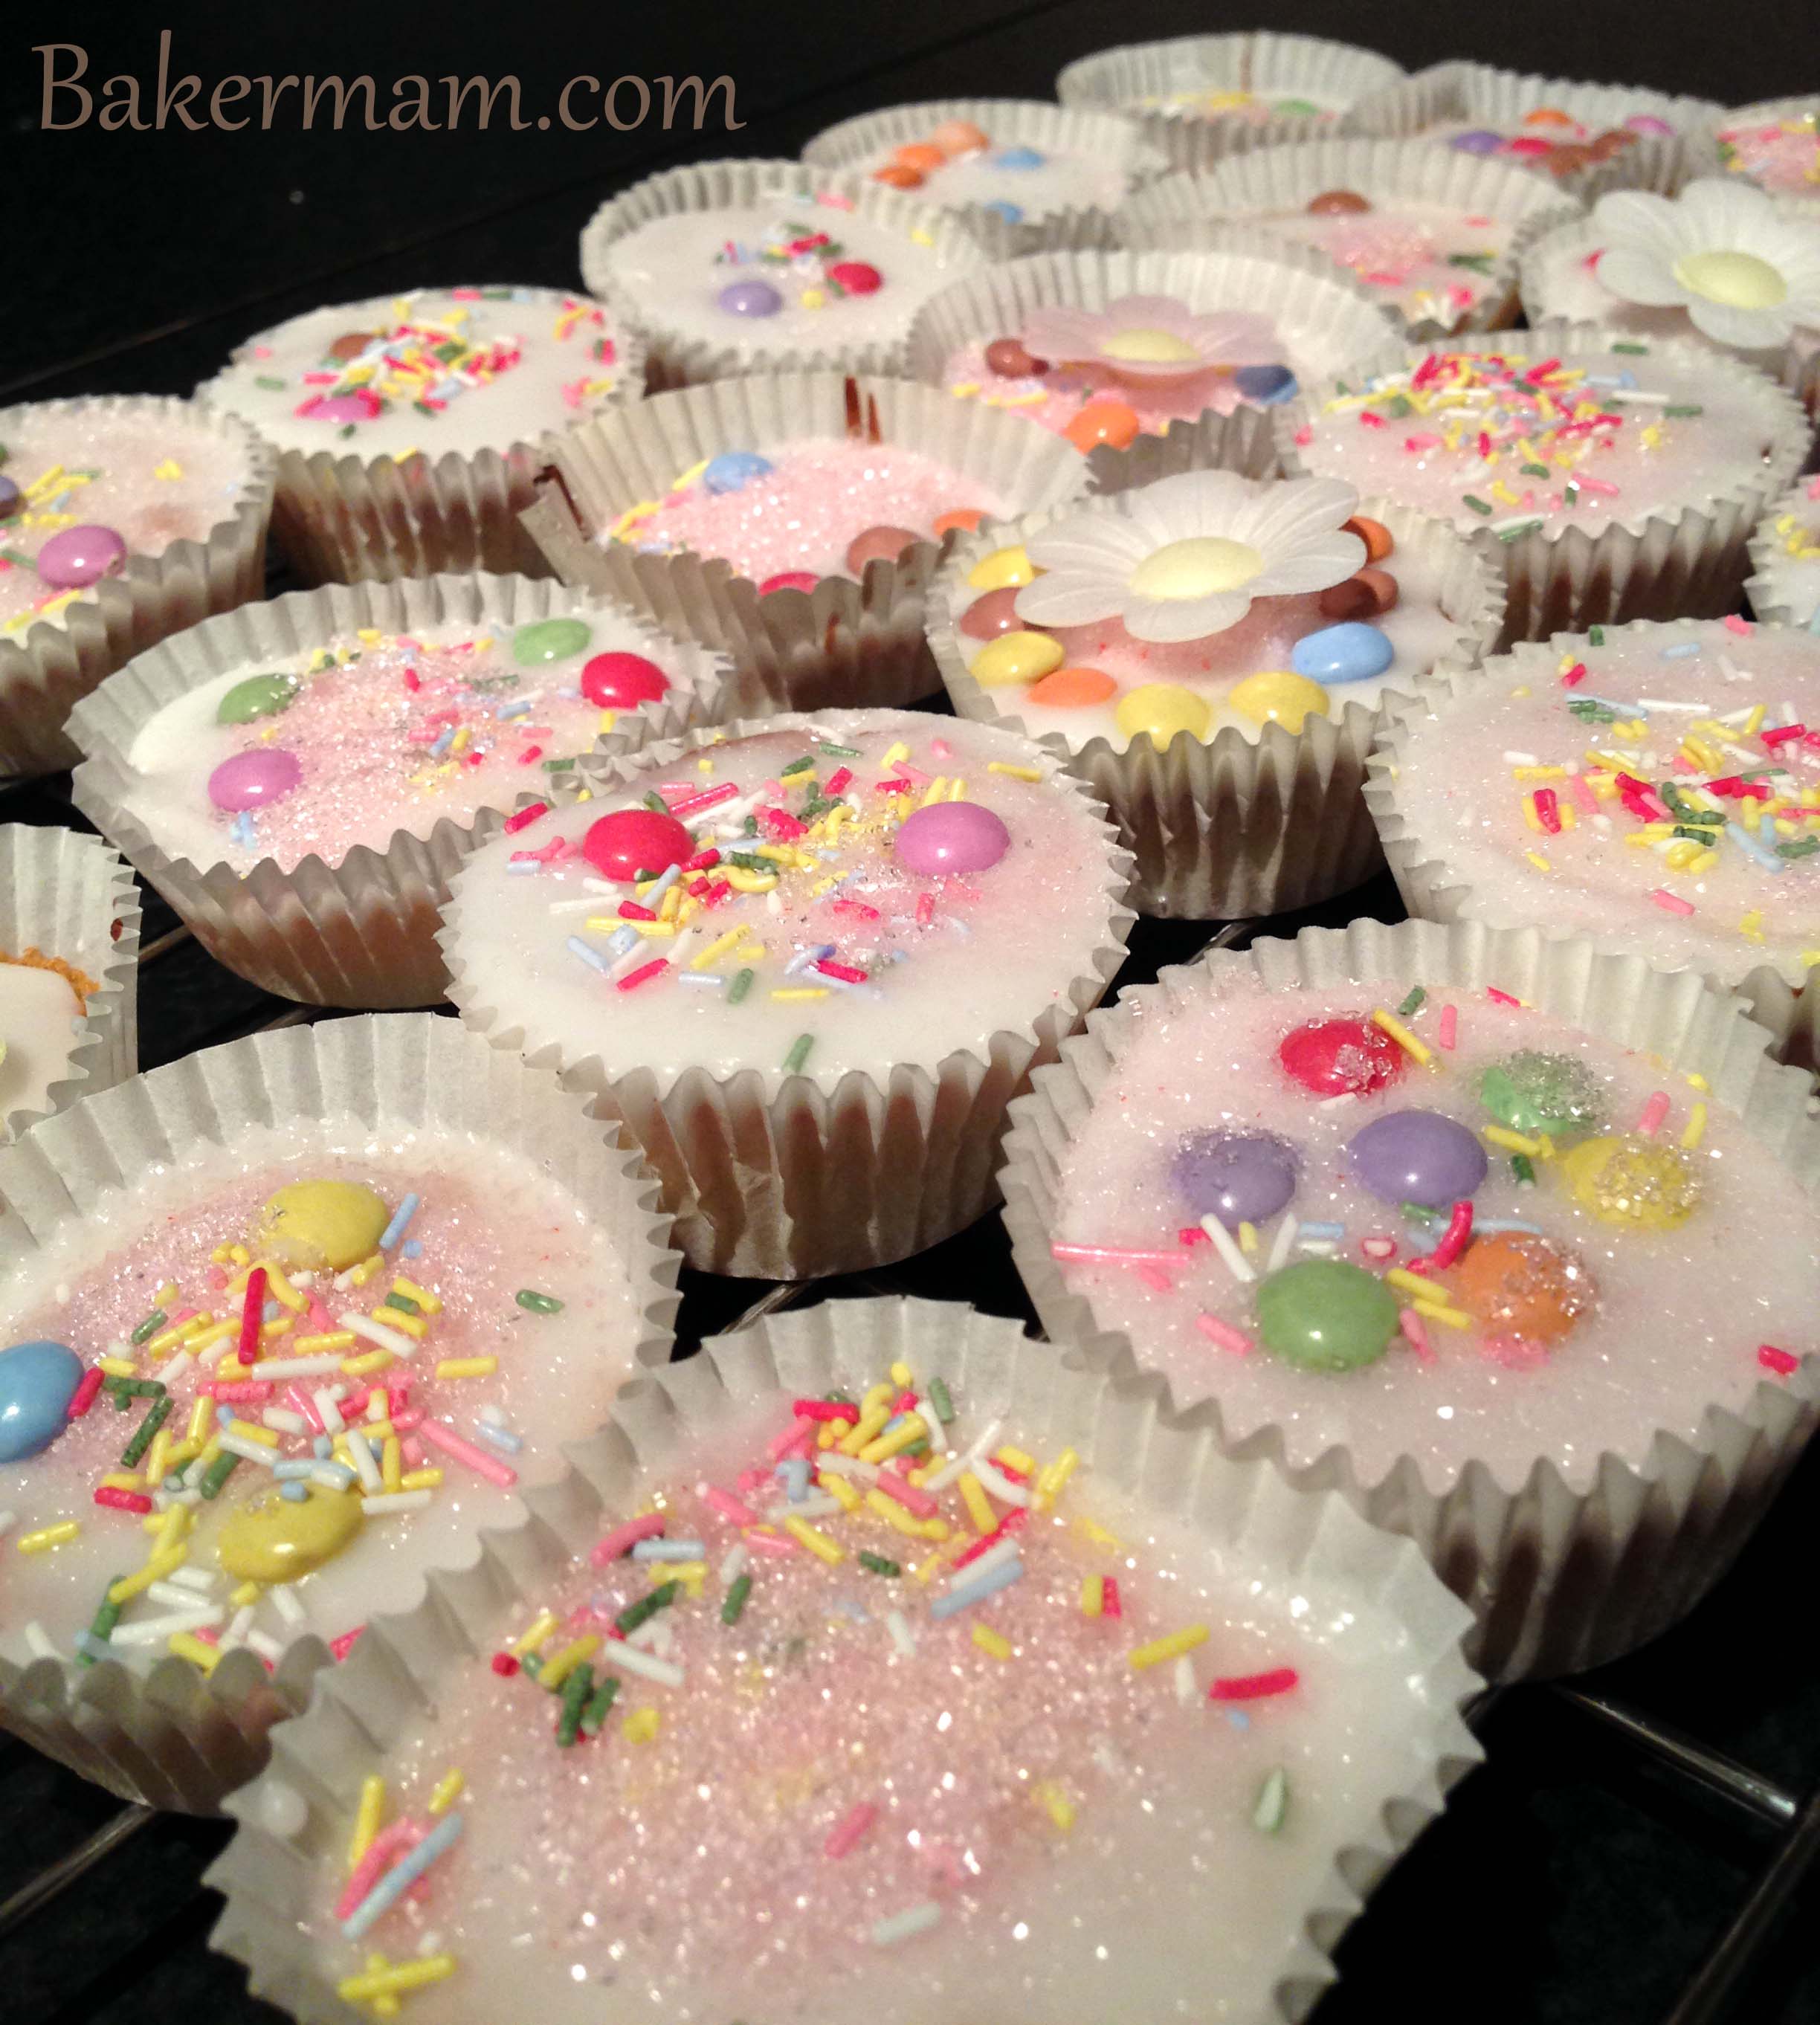
Gingerbread biscuits gleefully decorated by my 4 year old
Ingredients:
- 75g soft light brown sugar
- 75g butter softened
- 1/2 teaspoon of bicarbonate of soda
- 1 large egg
- 3 tablespoons of golden syrup
- 250g of plain cream flour
- 1 teaspoon of ground ginger
- 1/2 teaspoon of ground cinnamon
You will also need some shape cutters
To Prepare:
Cream the butter with an electric hand mixer until soft and then gradually add the sugar and cream until light and well mixed together. Add the bicarbonate of soda, golden syrup, and the egg and continue to mix .
Sift the flour, ginger, and cinnamon into the bowl and mix well using a spoon or a K mixer if using an electric kitchen machine.
Knead the mixture into a ball, then wrap in cling film and put in the fridge for 30 minutes.
To Bake:
Preheat the oven to 180°
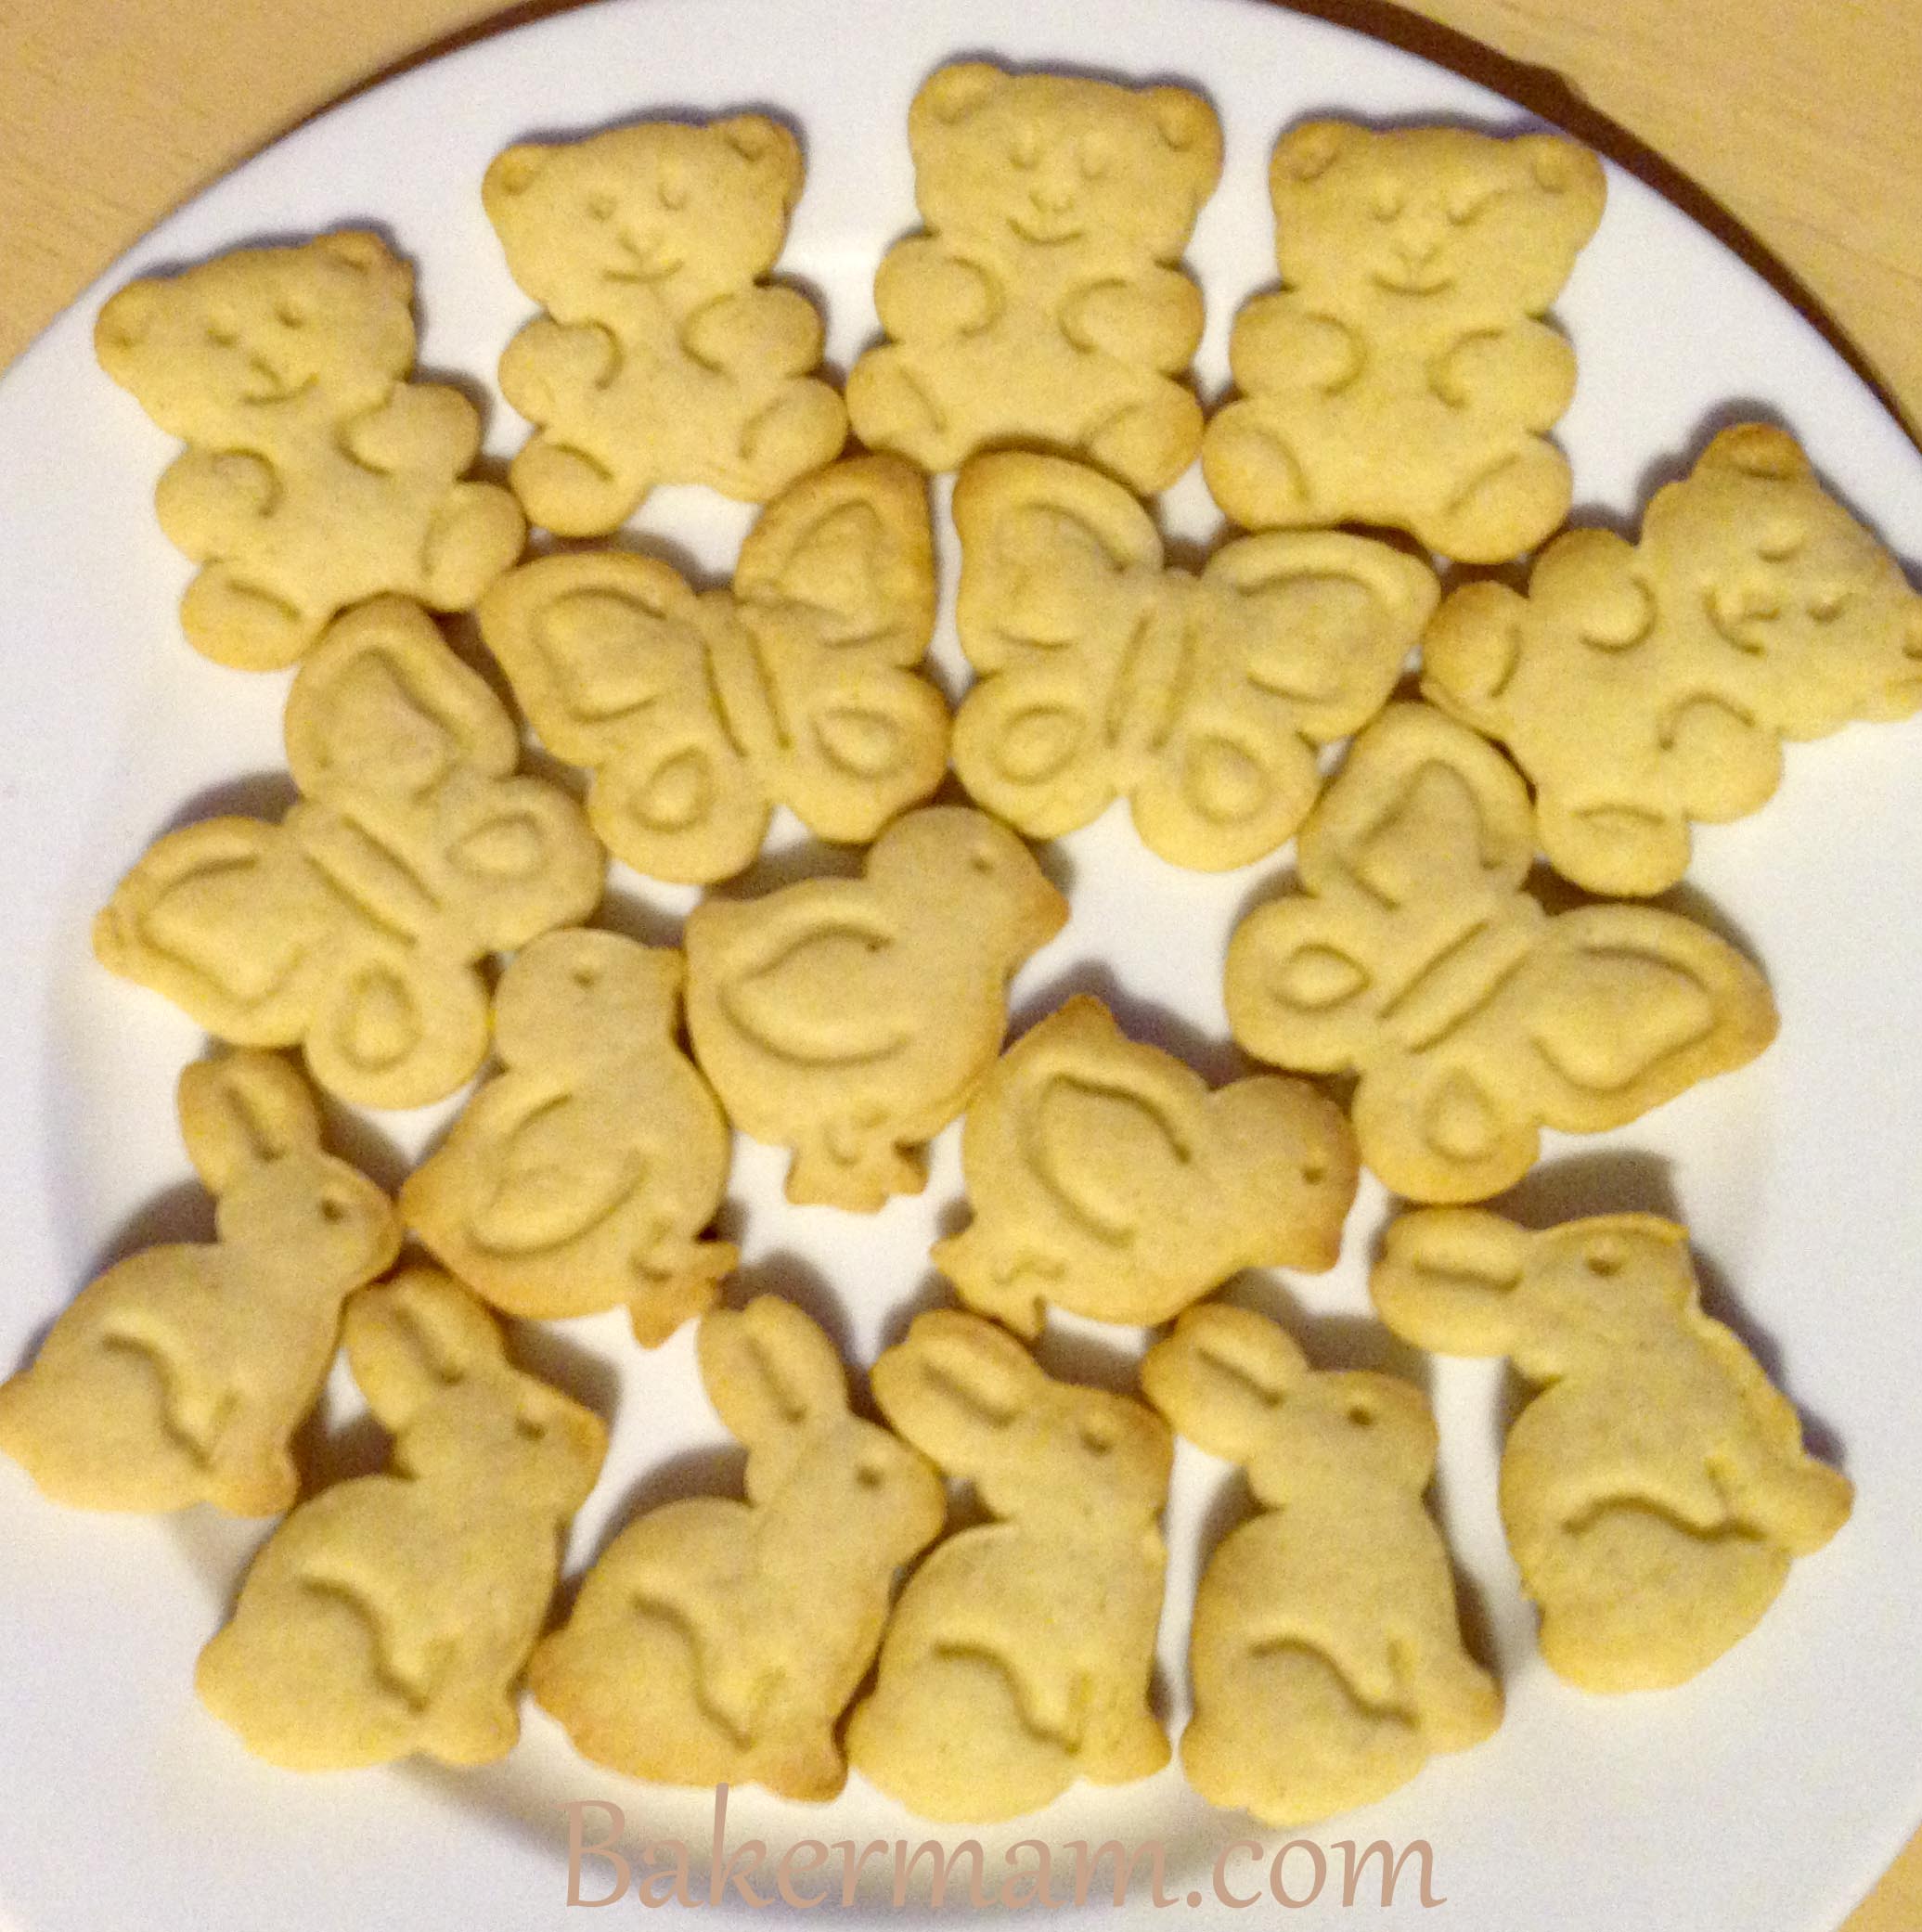
Roll out the dough on a lightly floured surface until quite thin, not too thin though, it’s nice to have a little weight on them. Using the cutters that you have, (we used gingerbread man and Christmas shapes) cut out the shapes that you wish to have. Place the shapes on a baking sheet covered baking tray and put in the oven for about 15 minutes turning the tray halfway through.
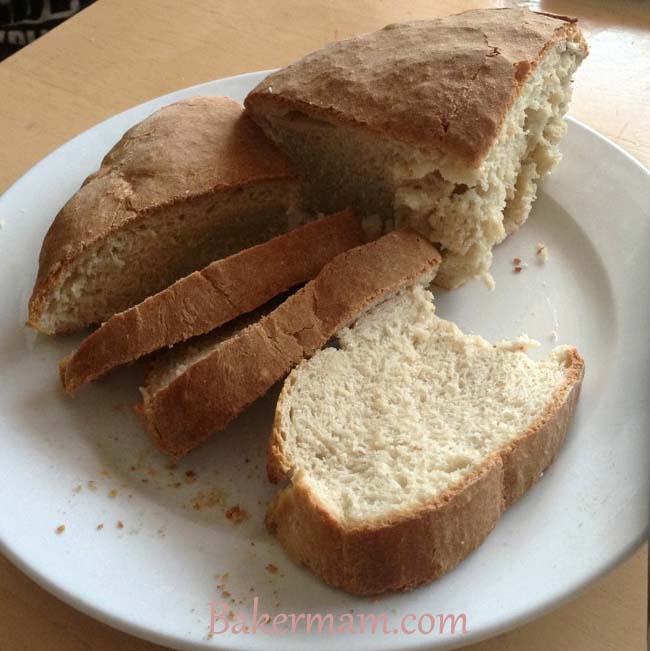
Once the Gingerbread shapes are baked, place them on a wire rack to cool.

Gingerbread Biscuits
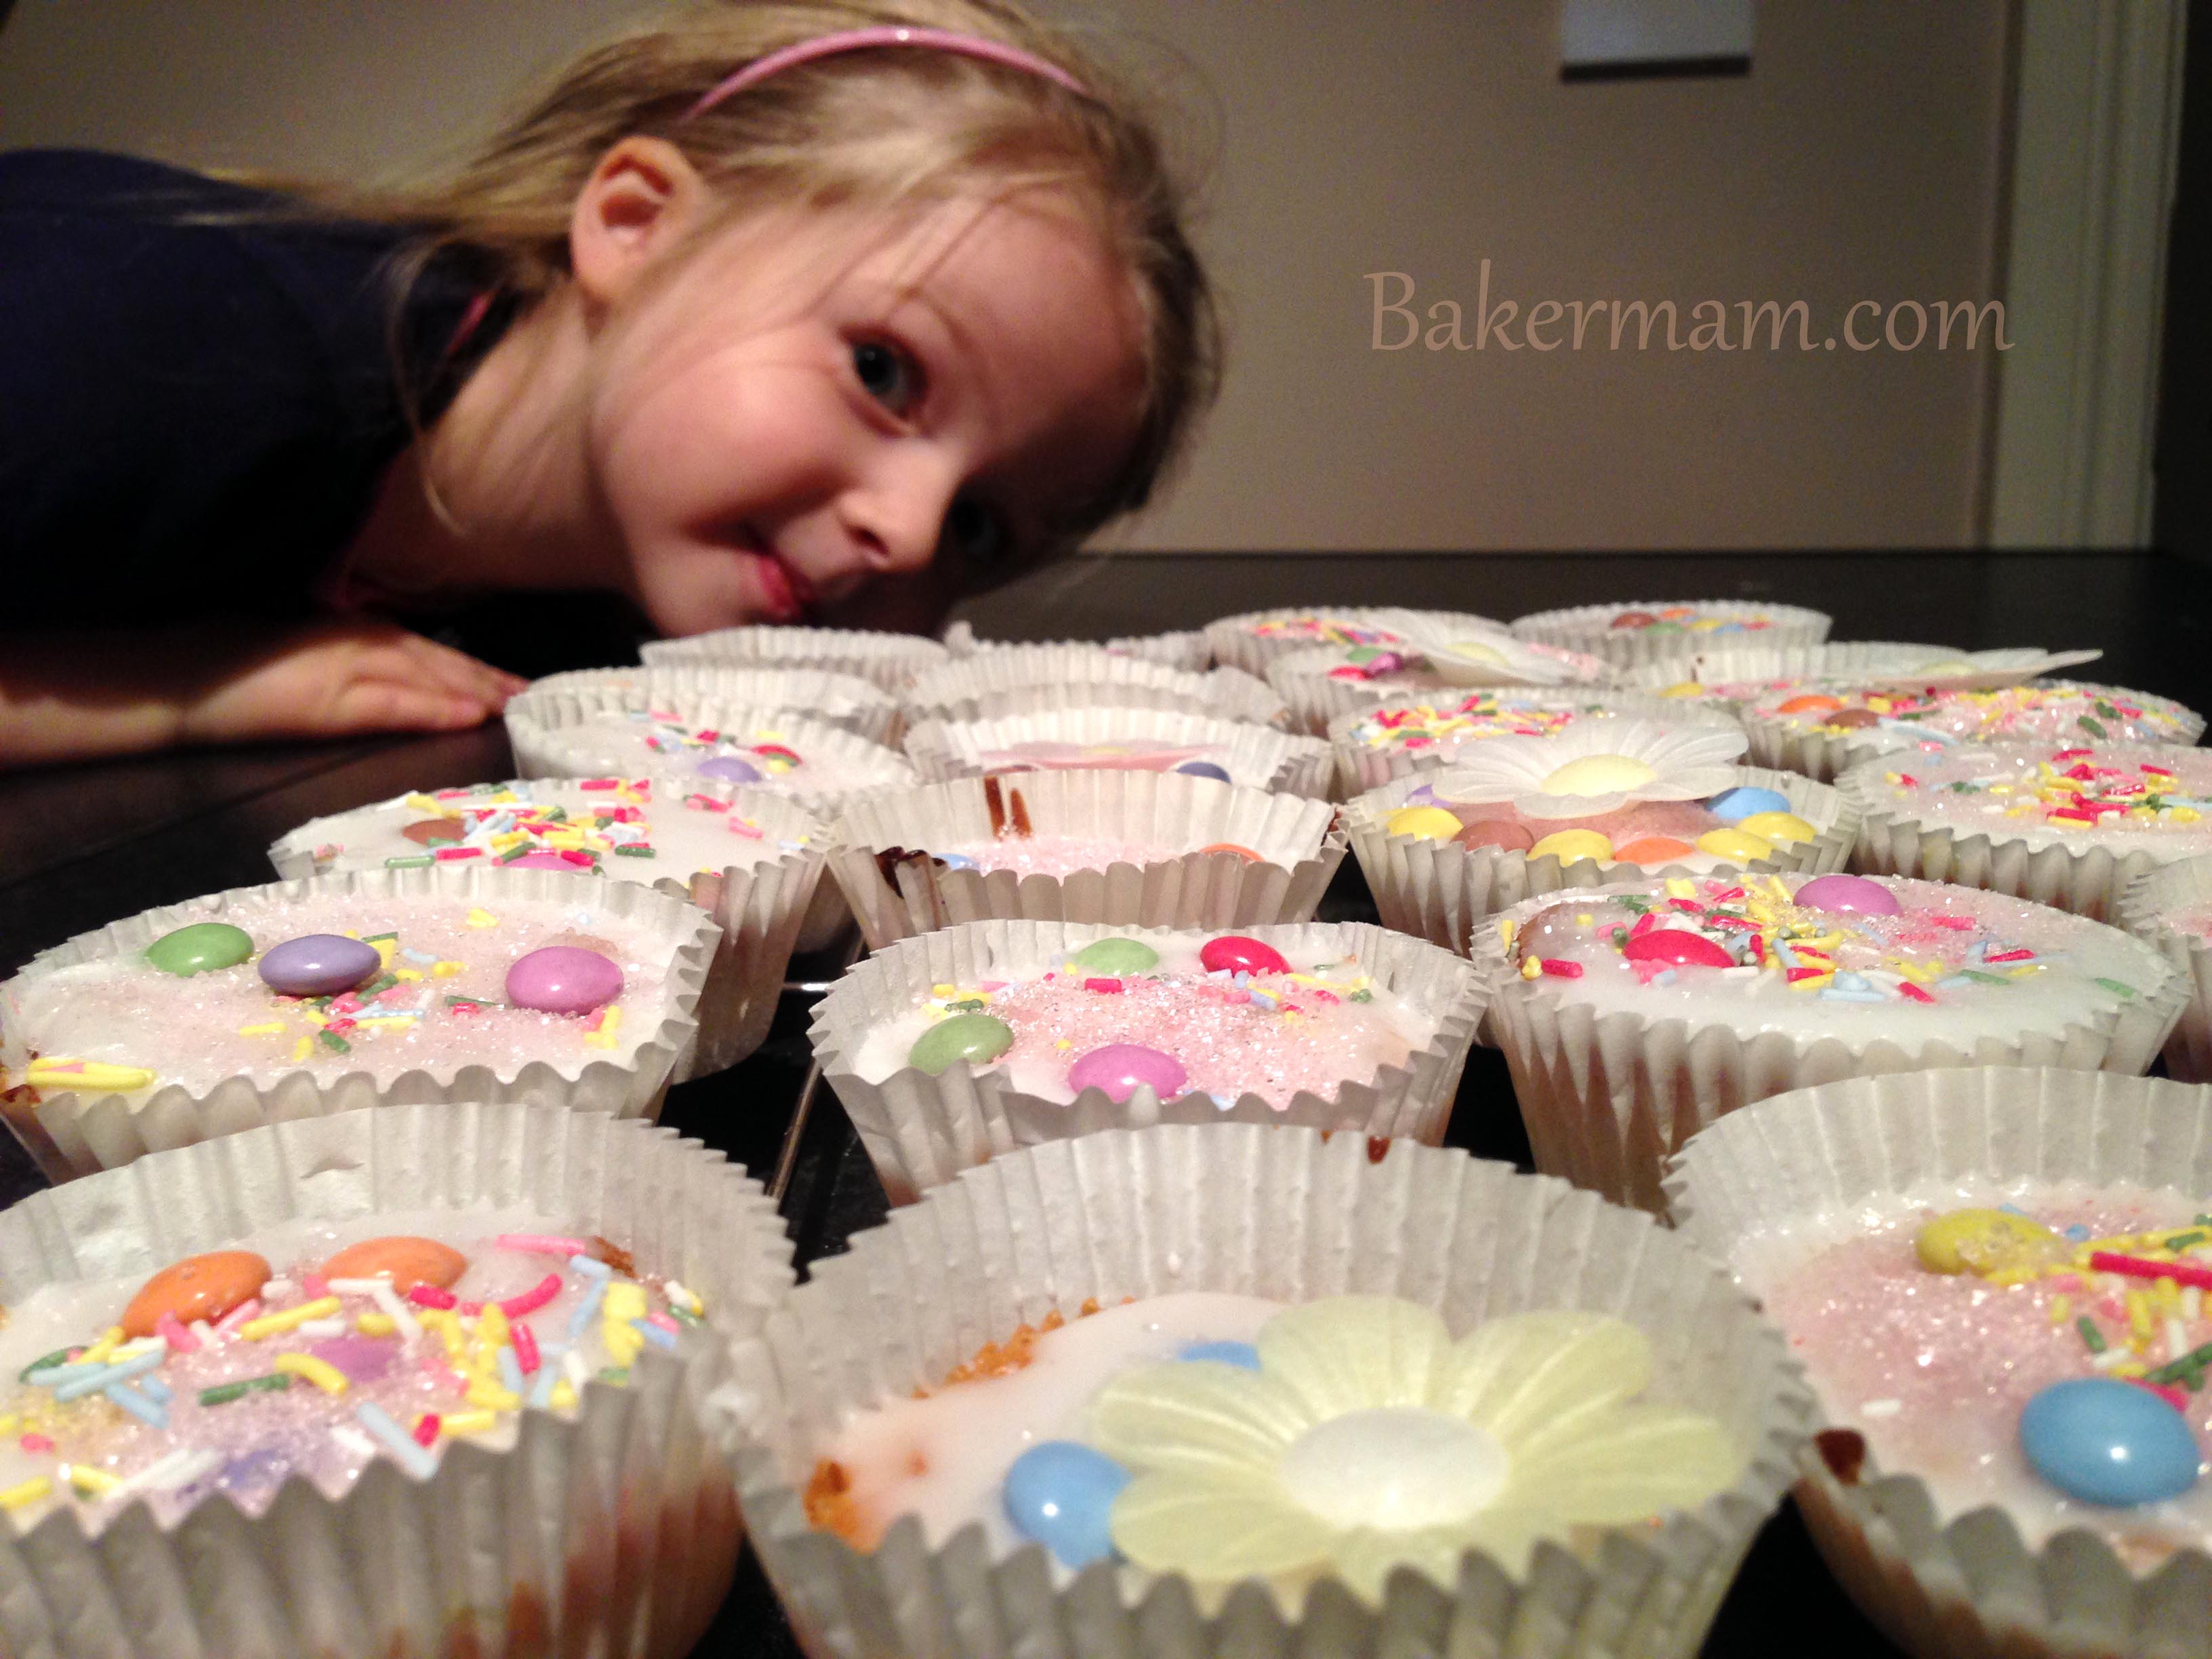
To Decorate:
I found some glitter icing gel in the supermarket today so decided to give them a try but my opinion is simple white icing tastes much better. We also used some smarties and coloured balls but you could decorate with whatever you have in your pantry or my preference, don’t decorate at all, which may not go down too well if you have a budding artist helping you.