Well I didn’t think I’d be writing a Valentine’s post but Zoe is very excited about it, she made a card for me and her dad in school and is mesmerised by anything heart-shaped. She doesn’t think of Valentine’s as a day of romance but a day to celebrate love and I like that!
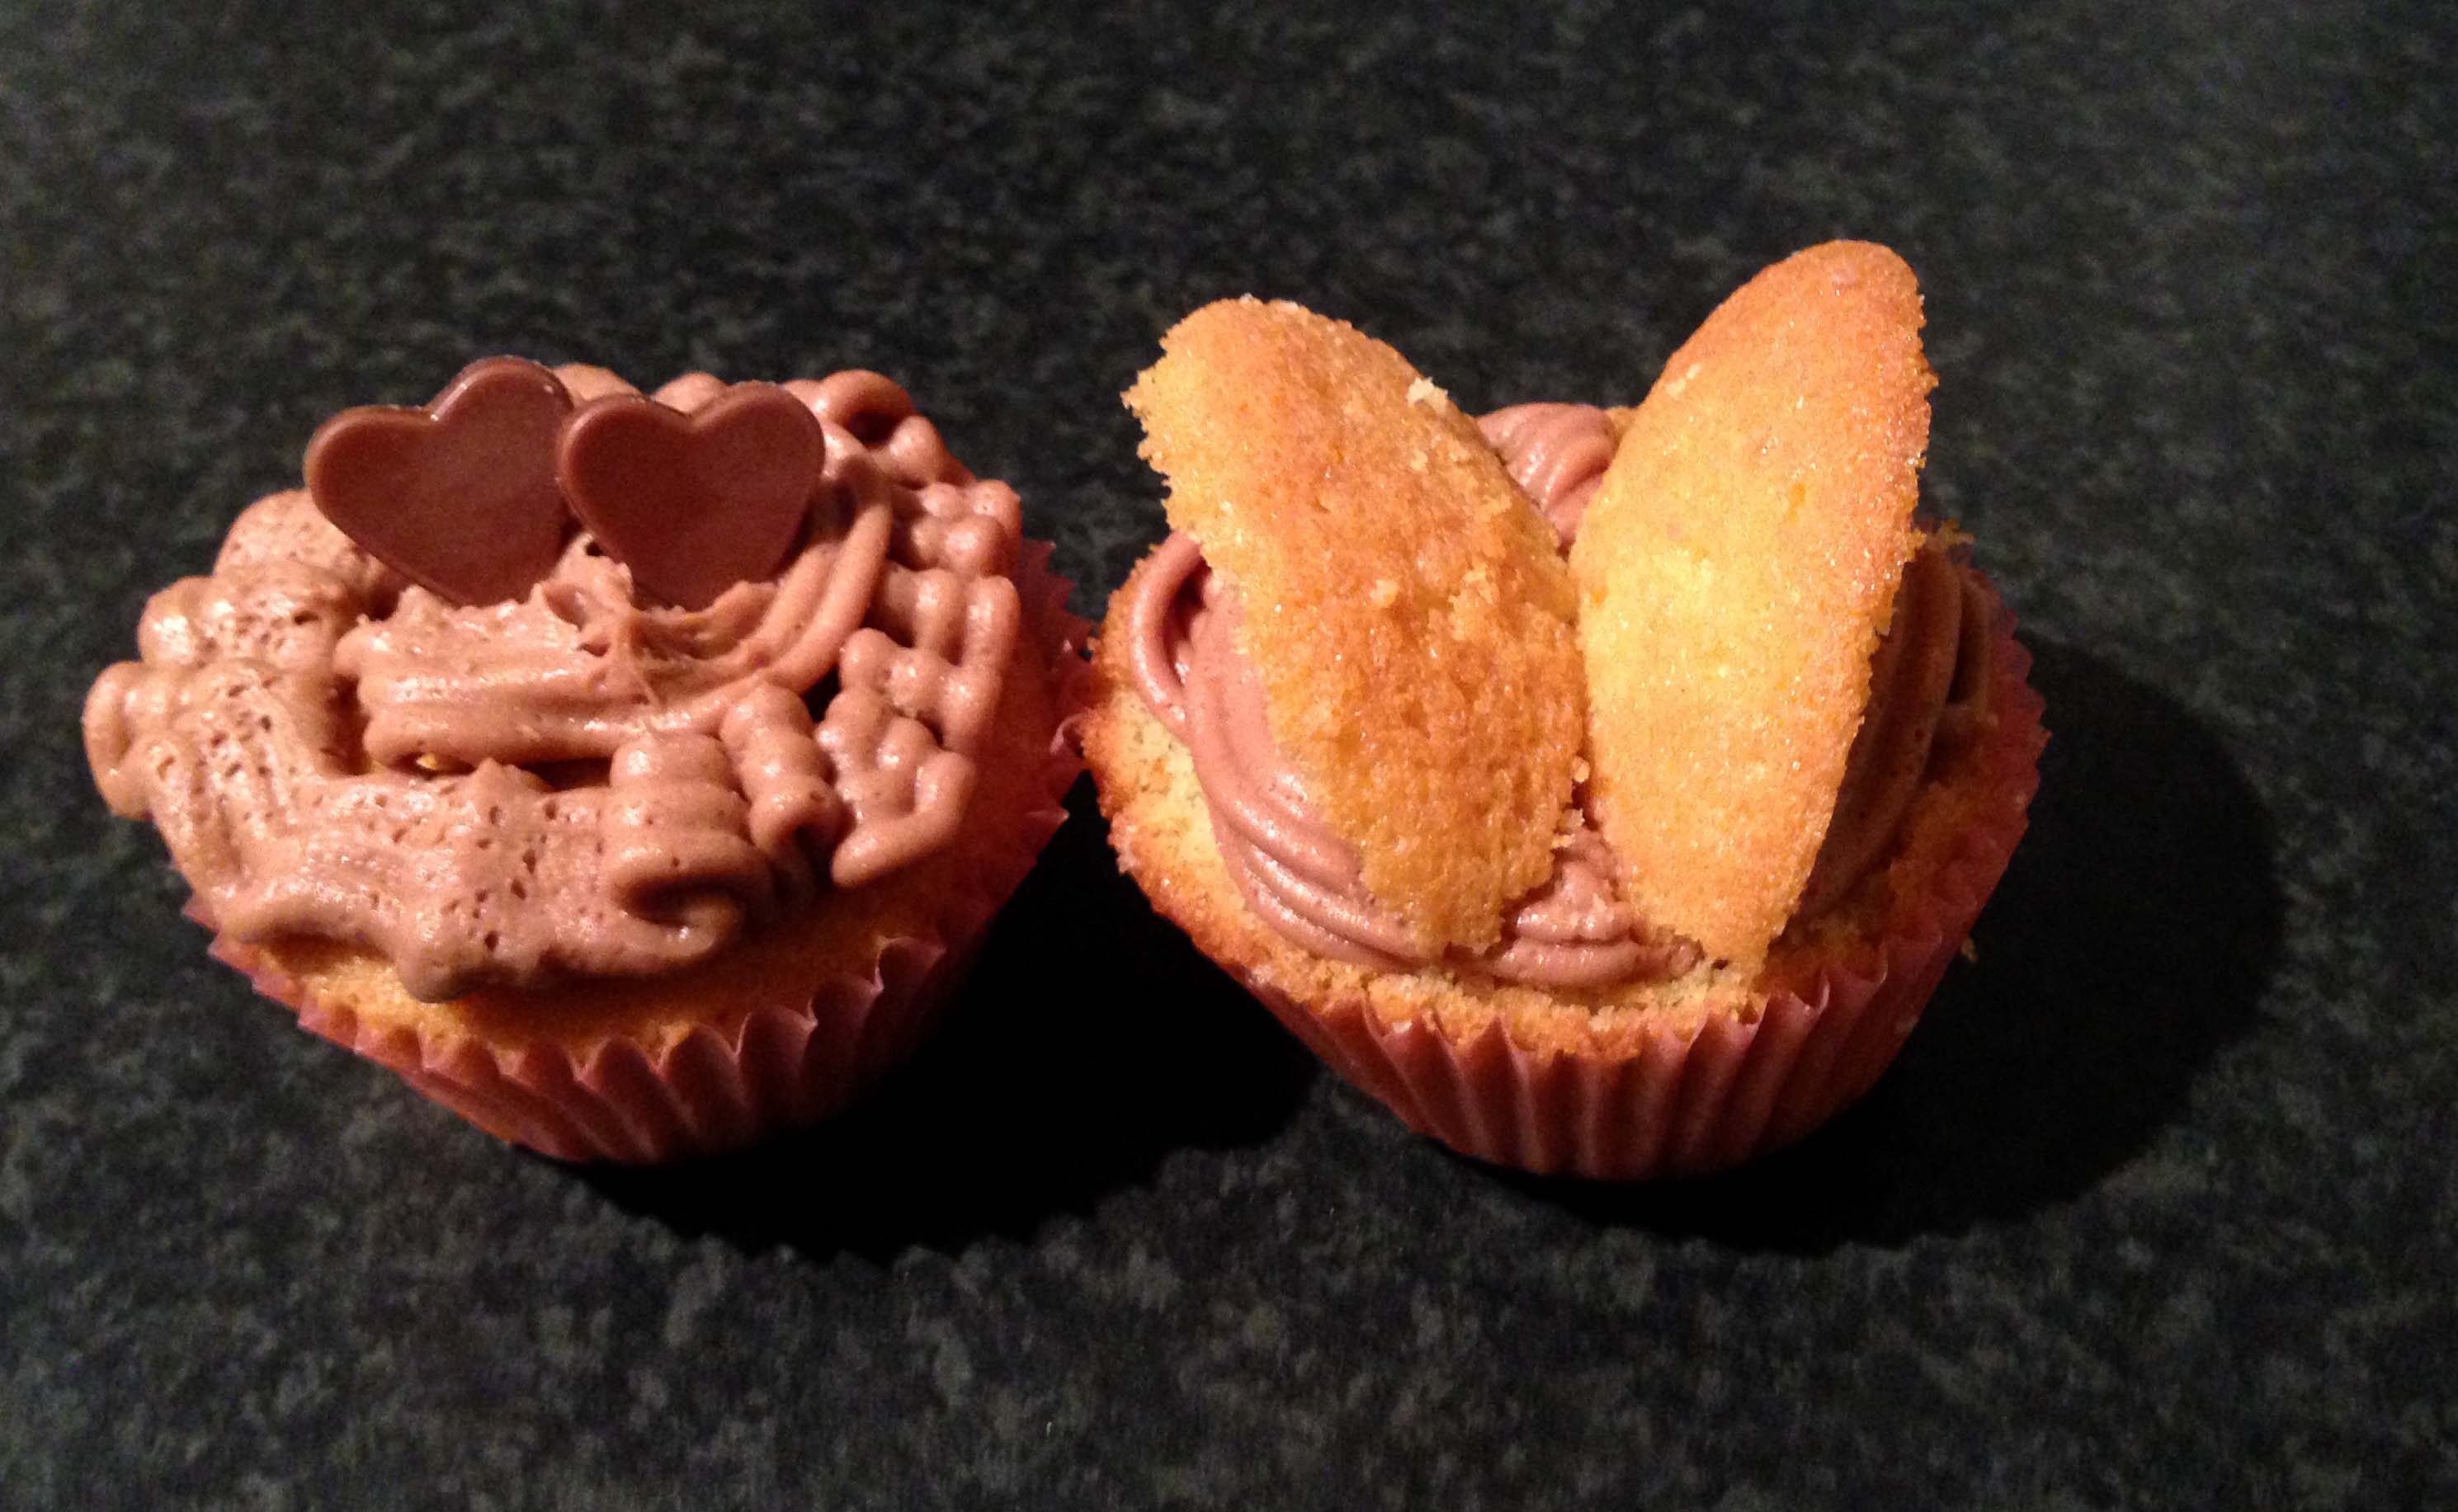
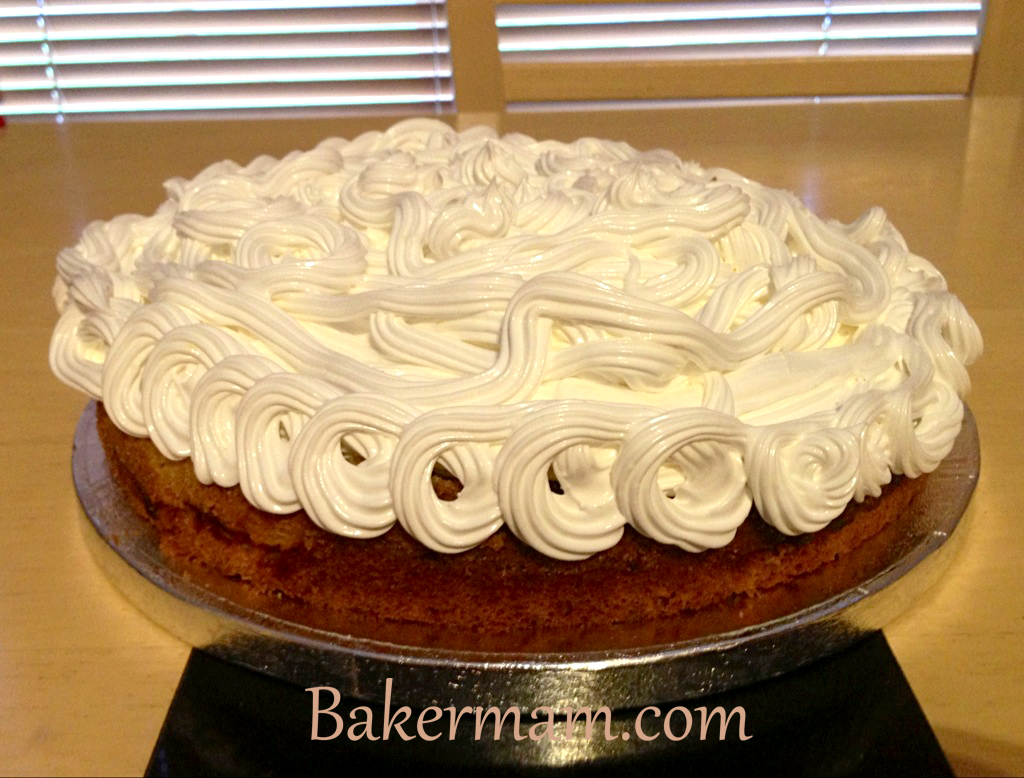
Chocolate Butterfly Cakes
So, Zoe decided she’d like to bake butterfly cakes for us and I’m sharing the recipe with you guys as it would be a nice treat for the ones you love today. The ingredients are from Mary Berry’s Baking Bible but the method is different.
Ingredients:
Cupcake:
- 100g Butter cut into cubes
- 100g Caster Sugar
- 2 Eggs
- 100g Self-raising flour
- 1 teaspoon of Baking Powder
Chocolate icing:
- 2 Tablespoons of Cocoa Powder
- 3 Tablespoons of Hot Water
- 175g Butter cut into cubes
- 350g Icing Sugar
Preheat the oven to 180°C
To Bake:
Beat the butter in a large bowl with an electric hand-mixer until soft, gradually add the sugar beating constantly. Crack the eggs into a small bowl and lightly beat with a fork, gradually add the eggs to the mixture whilst beating with the electric hand-mixer. Sift the flour and baking powder into the mixture and stir in until the flour has been incorporated into the wet mixture, then beat until smooth.
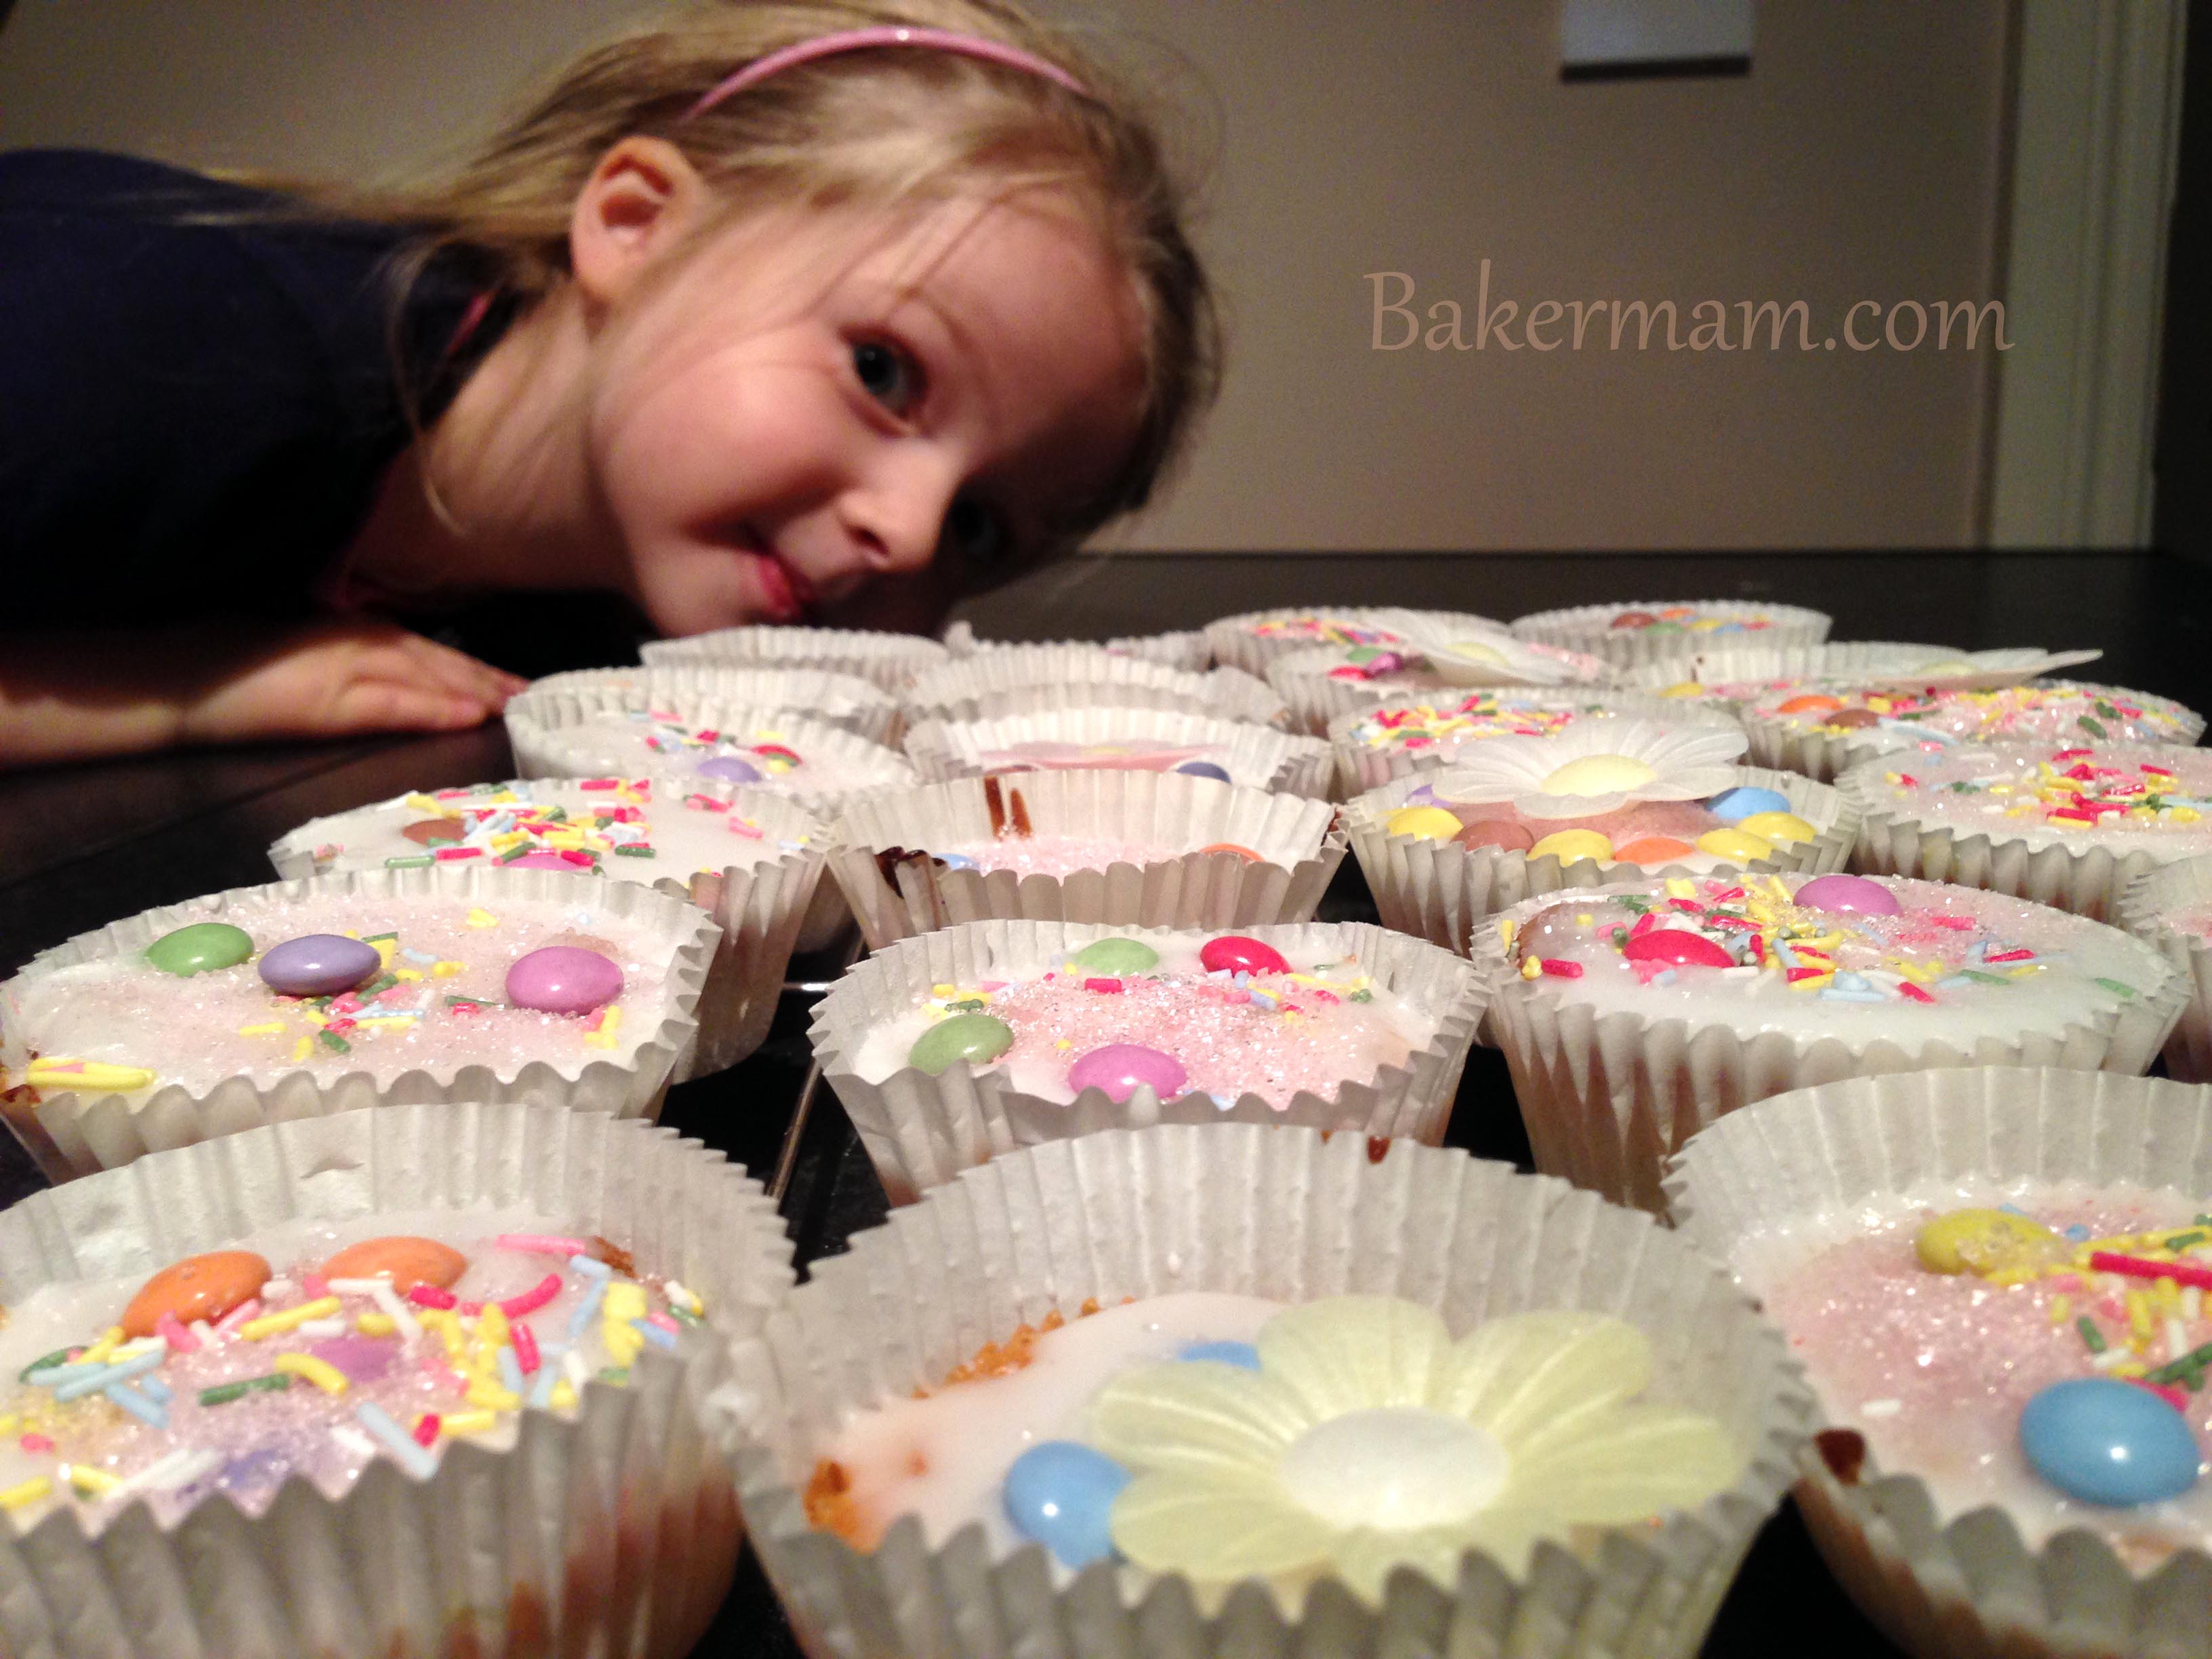
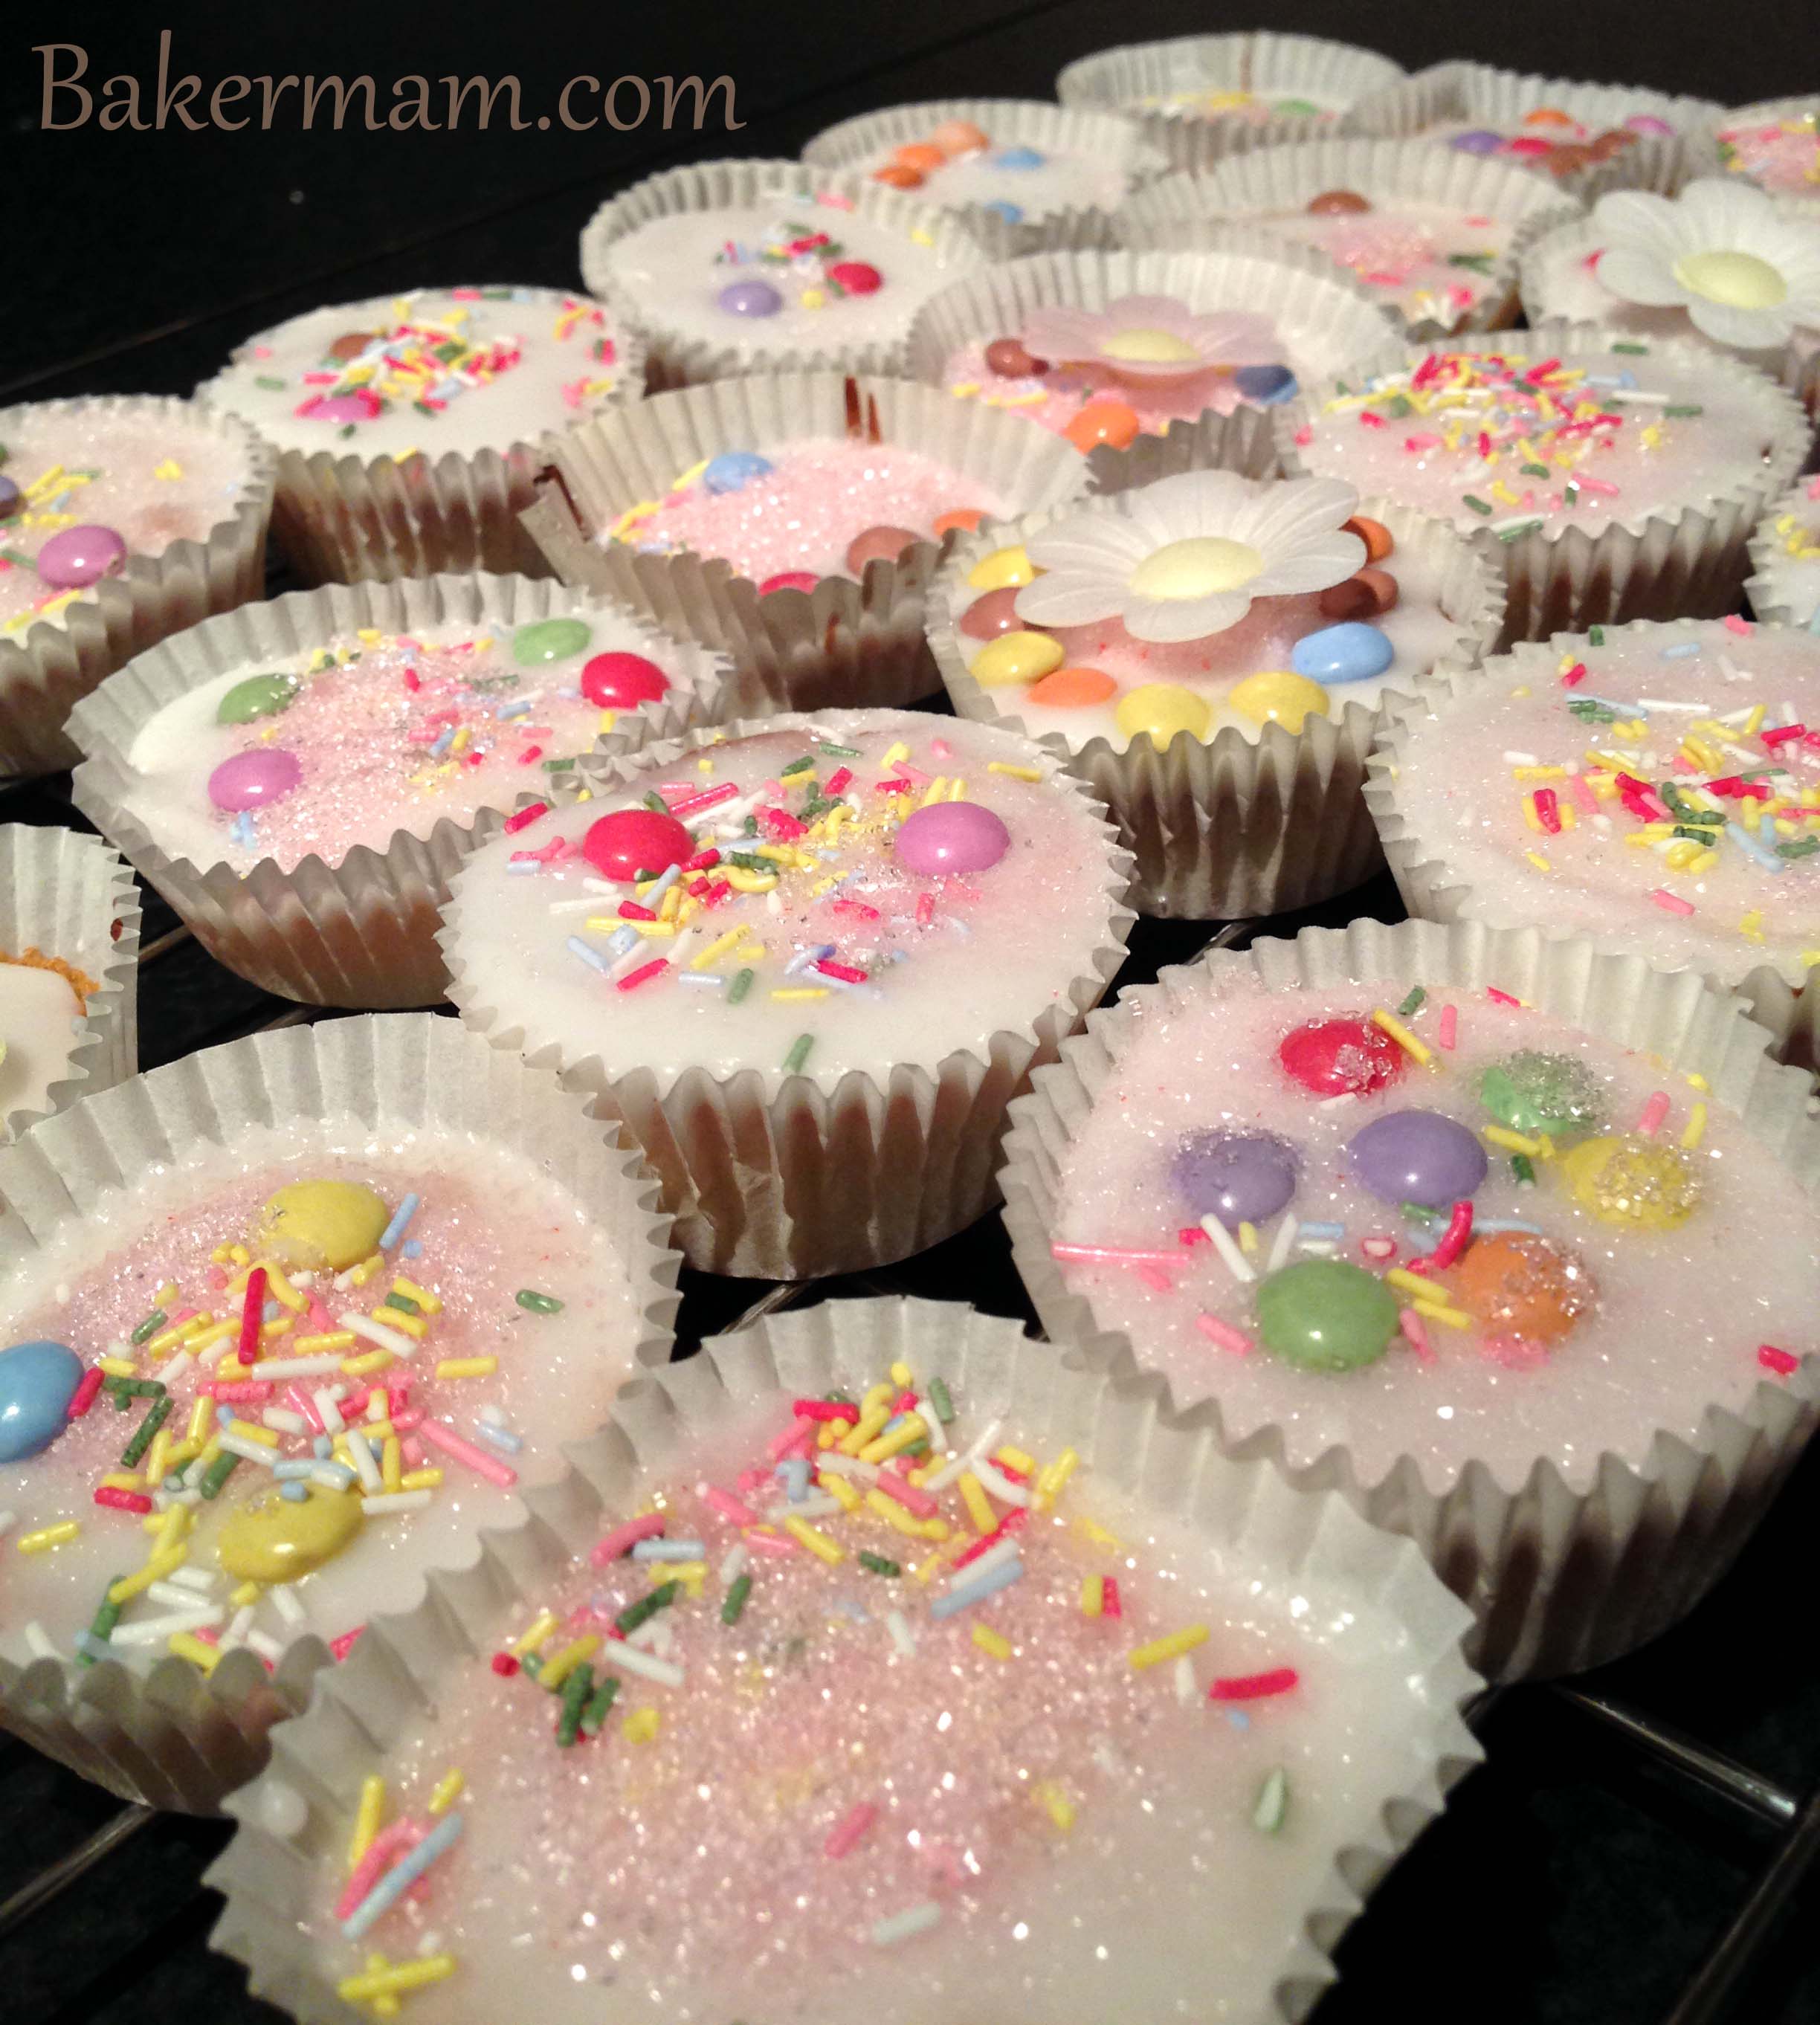
Fill a 12 bun tray with fairy cake cases and fill each one with the mixture. place in the oven and bake for 20 minutes. Remove from the oven and place the cup cakes on a wire rack to cool.
The Icing:
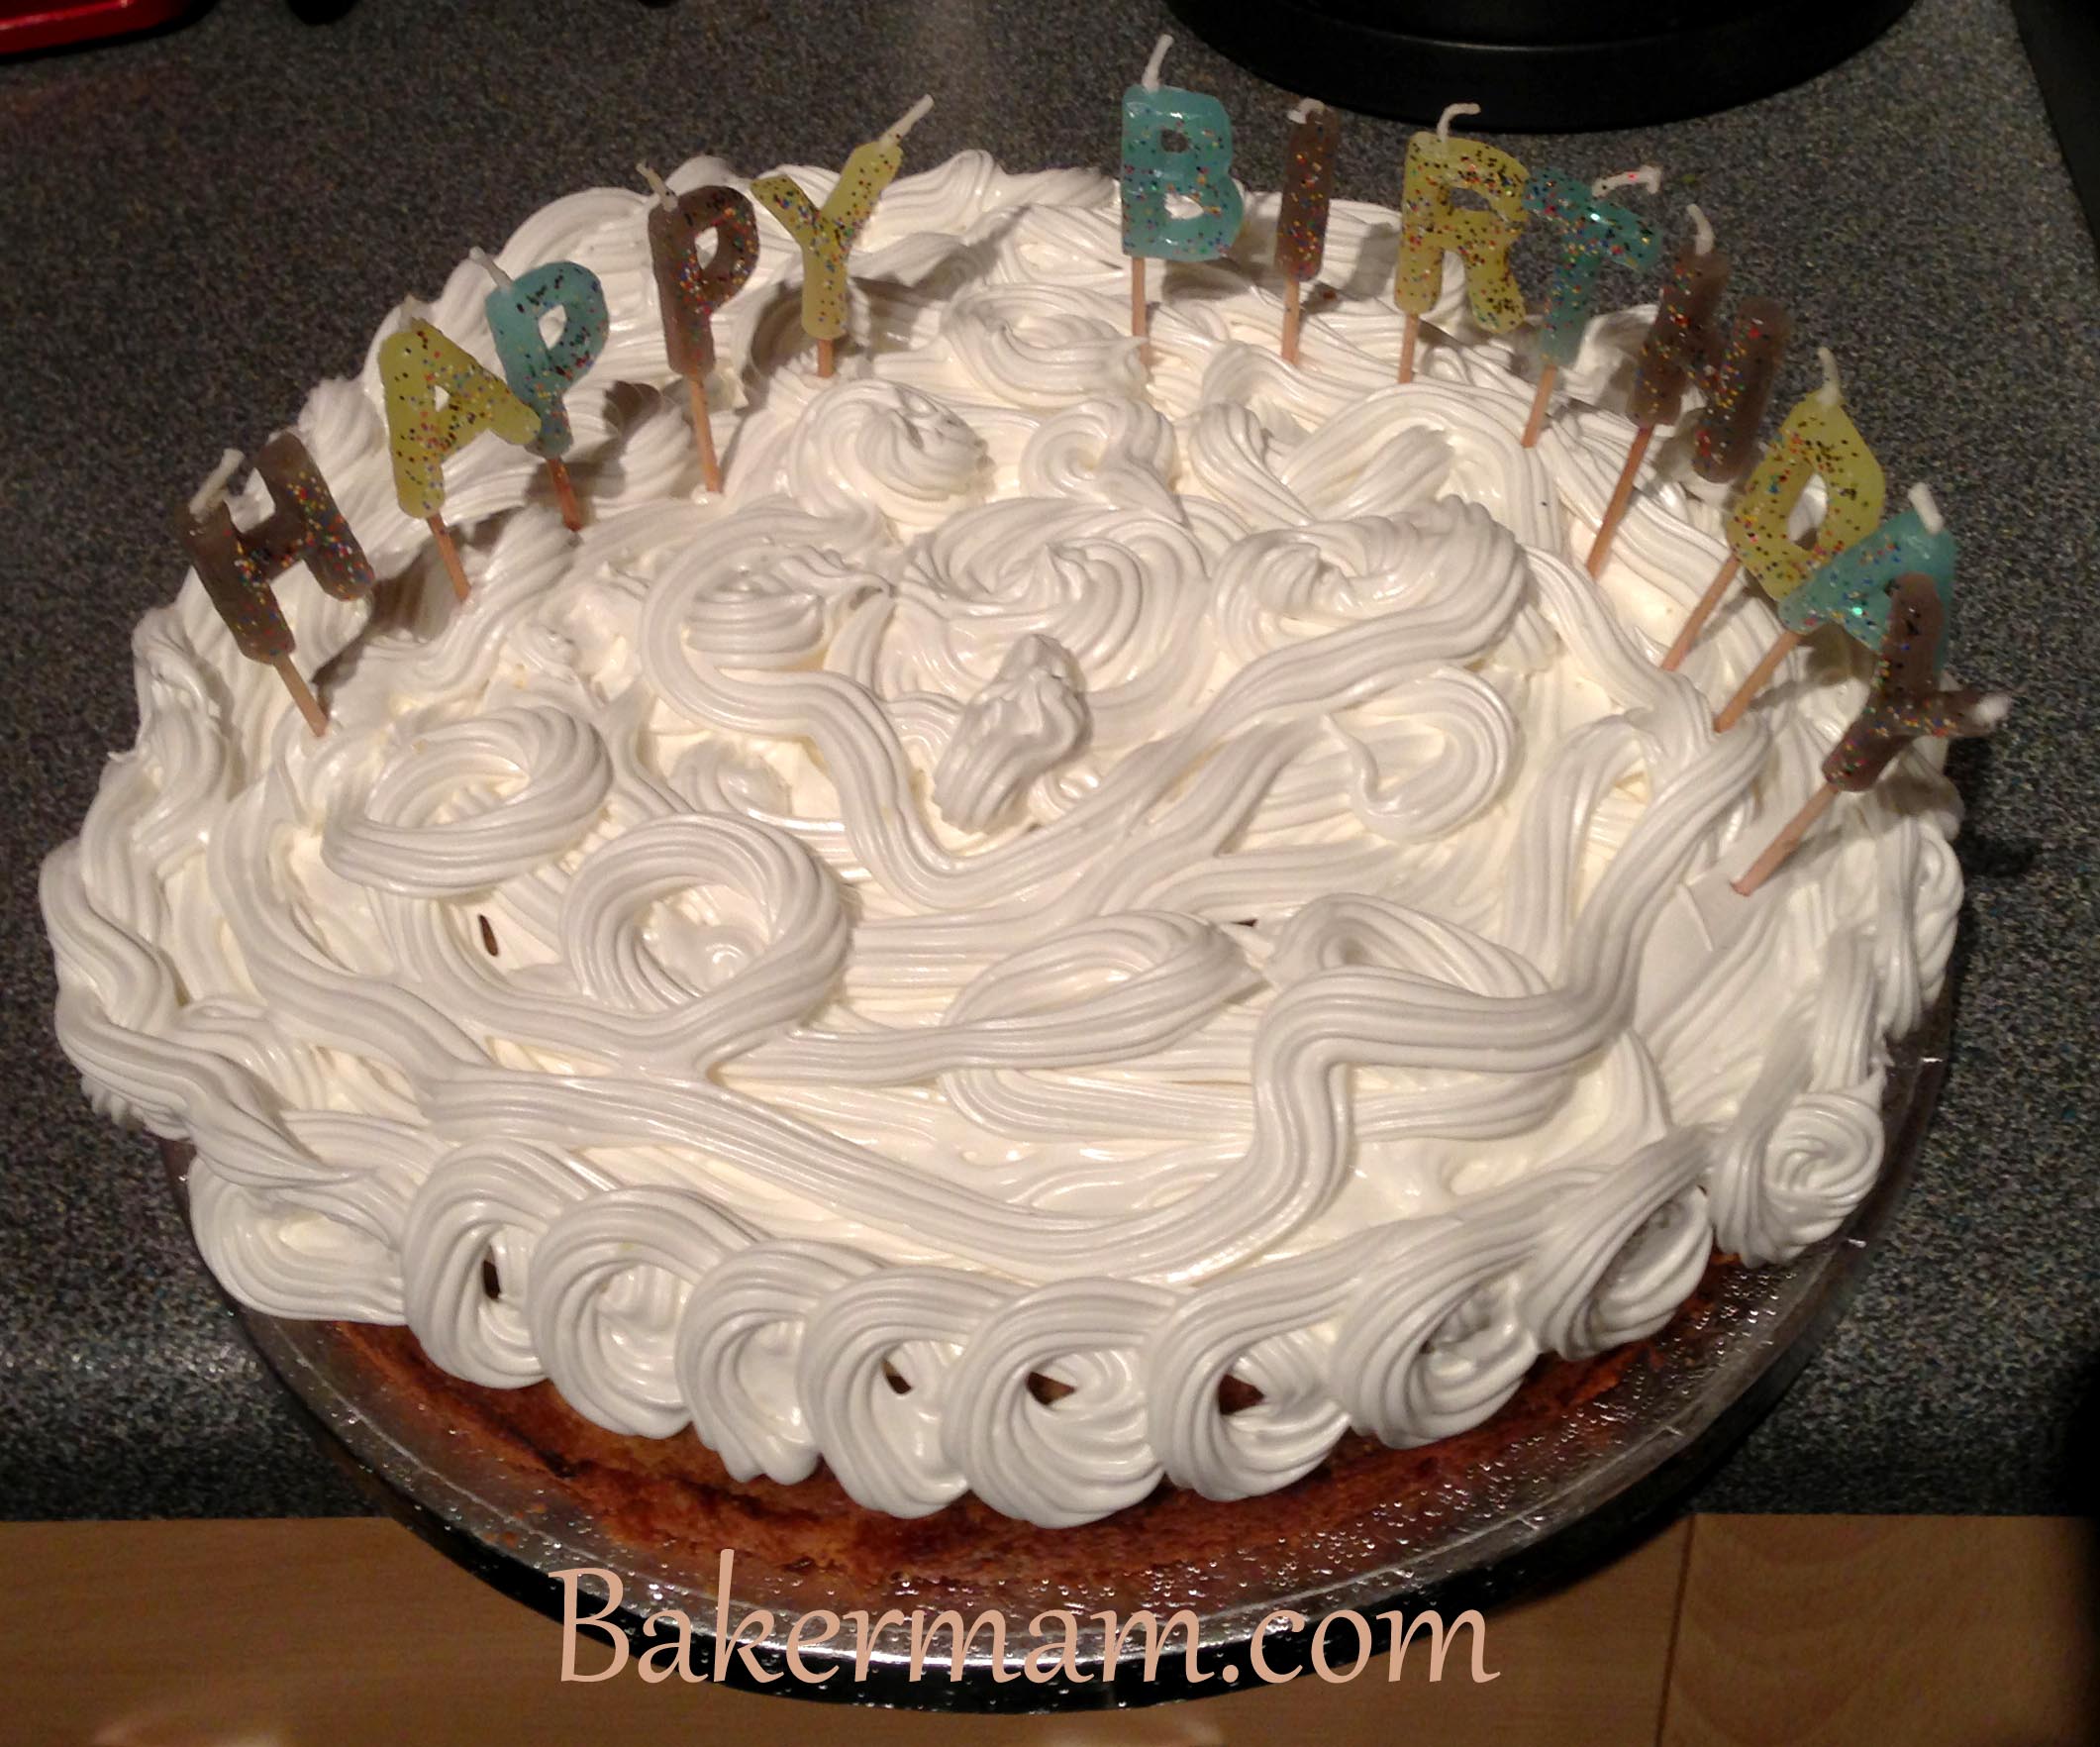
Add the cocoa powder to the hot water and stir, then leave to cool slightly. In another bowl beat the butter with an electric hand-mixer until soft, sift in the icing sugar and stir, add the cocoa mixture and beat all together until a smooth paste has been formed. Cut the tops off the cupcakes and pipe the icing onto them, cut each top in half and place back onto the cake in a butterfly shape. Zoe also made cupcakes covered in chocolate icing and topped them with some chocolate hearts that we saw in the supermarket today and I thought they looked very appropriate for Valentine’s.
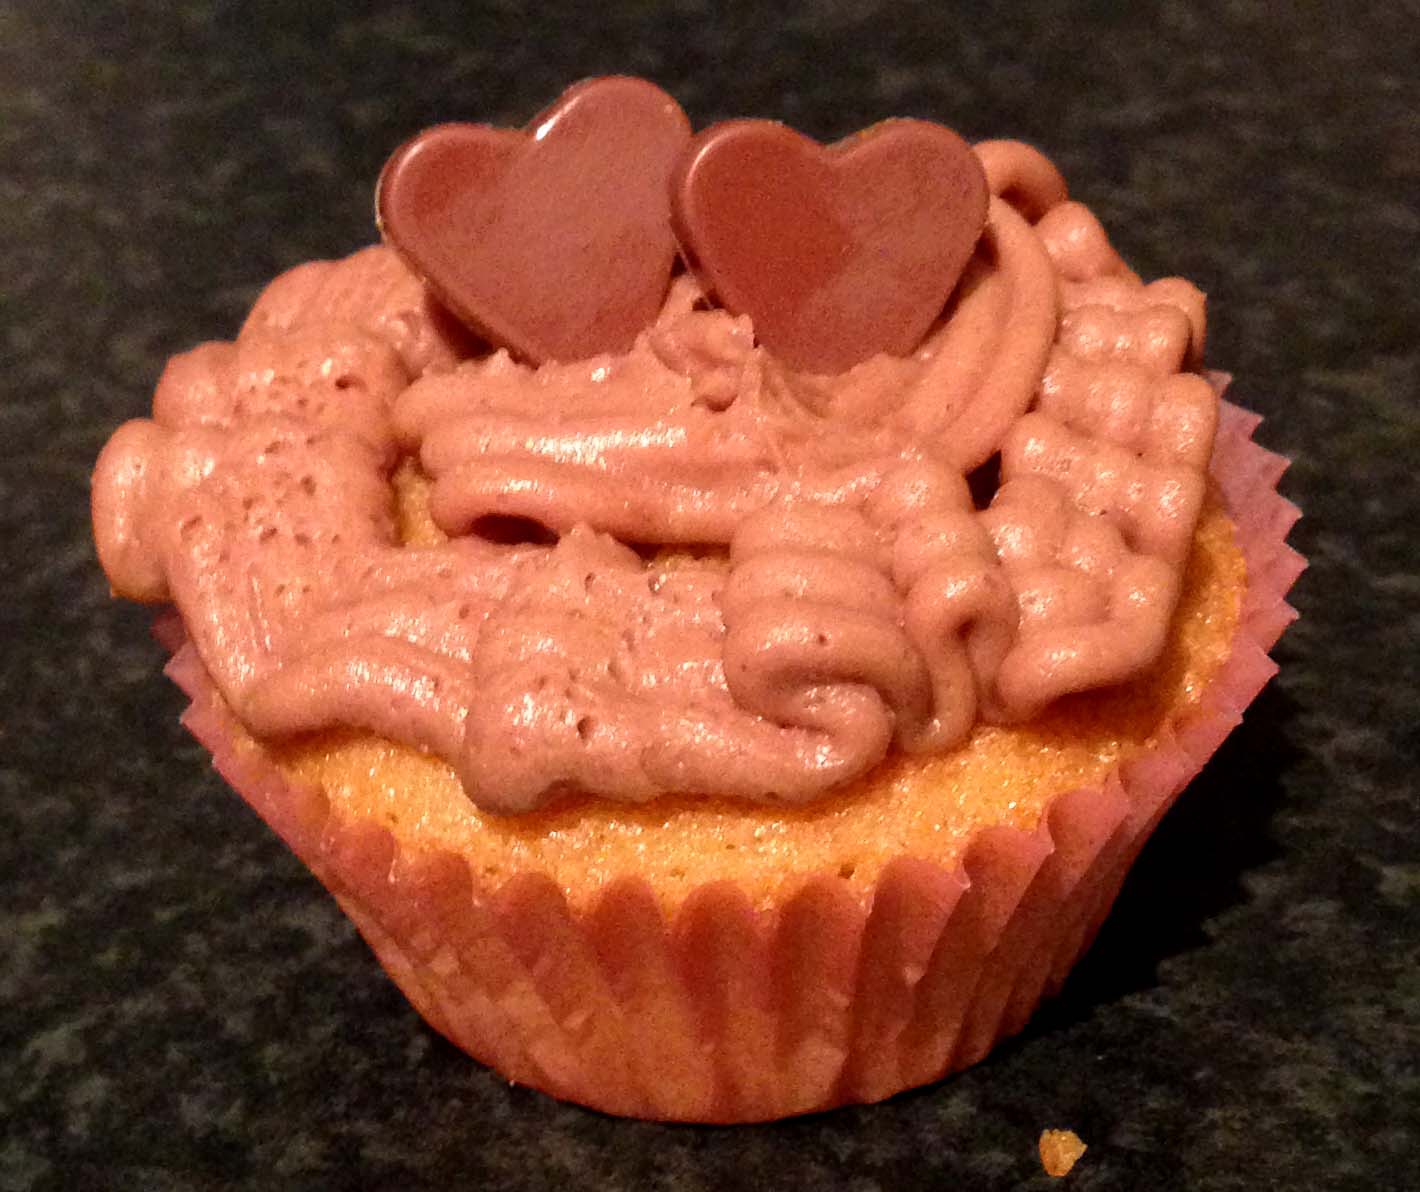
Valentine Cupcake