2

Teacher’s Pet

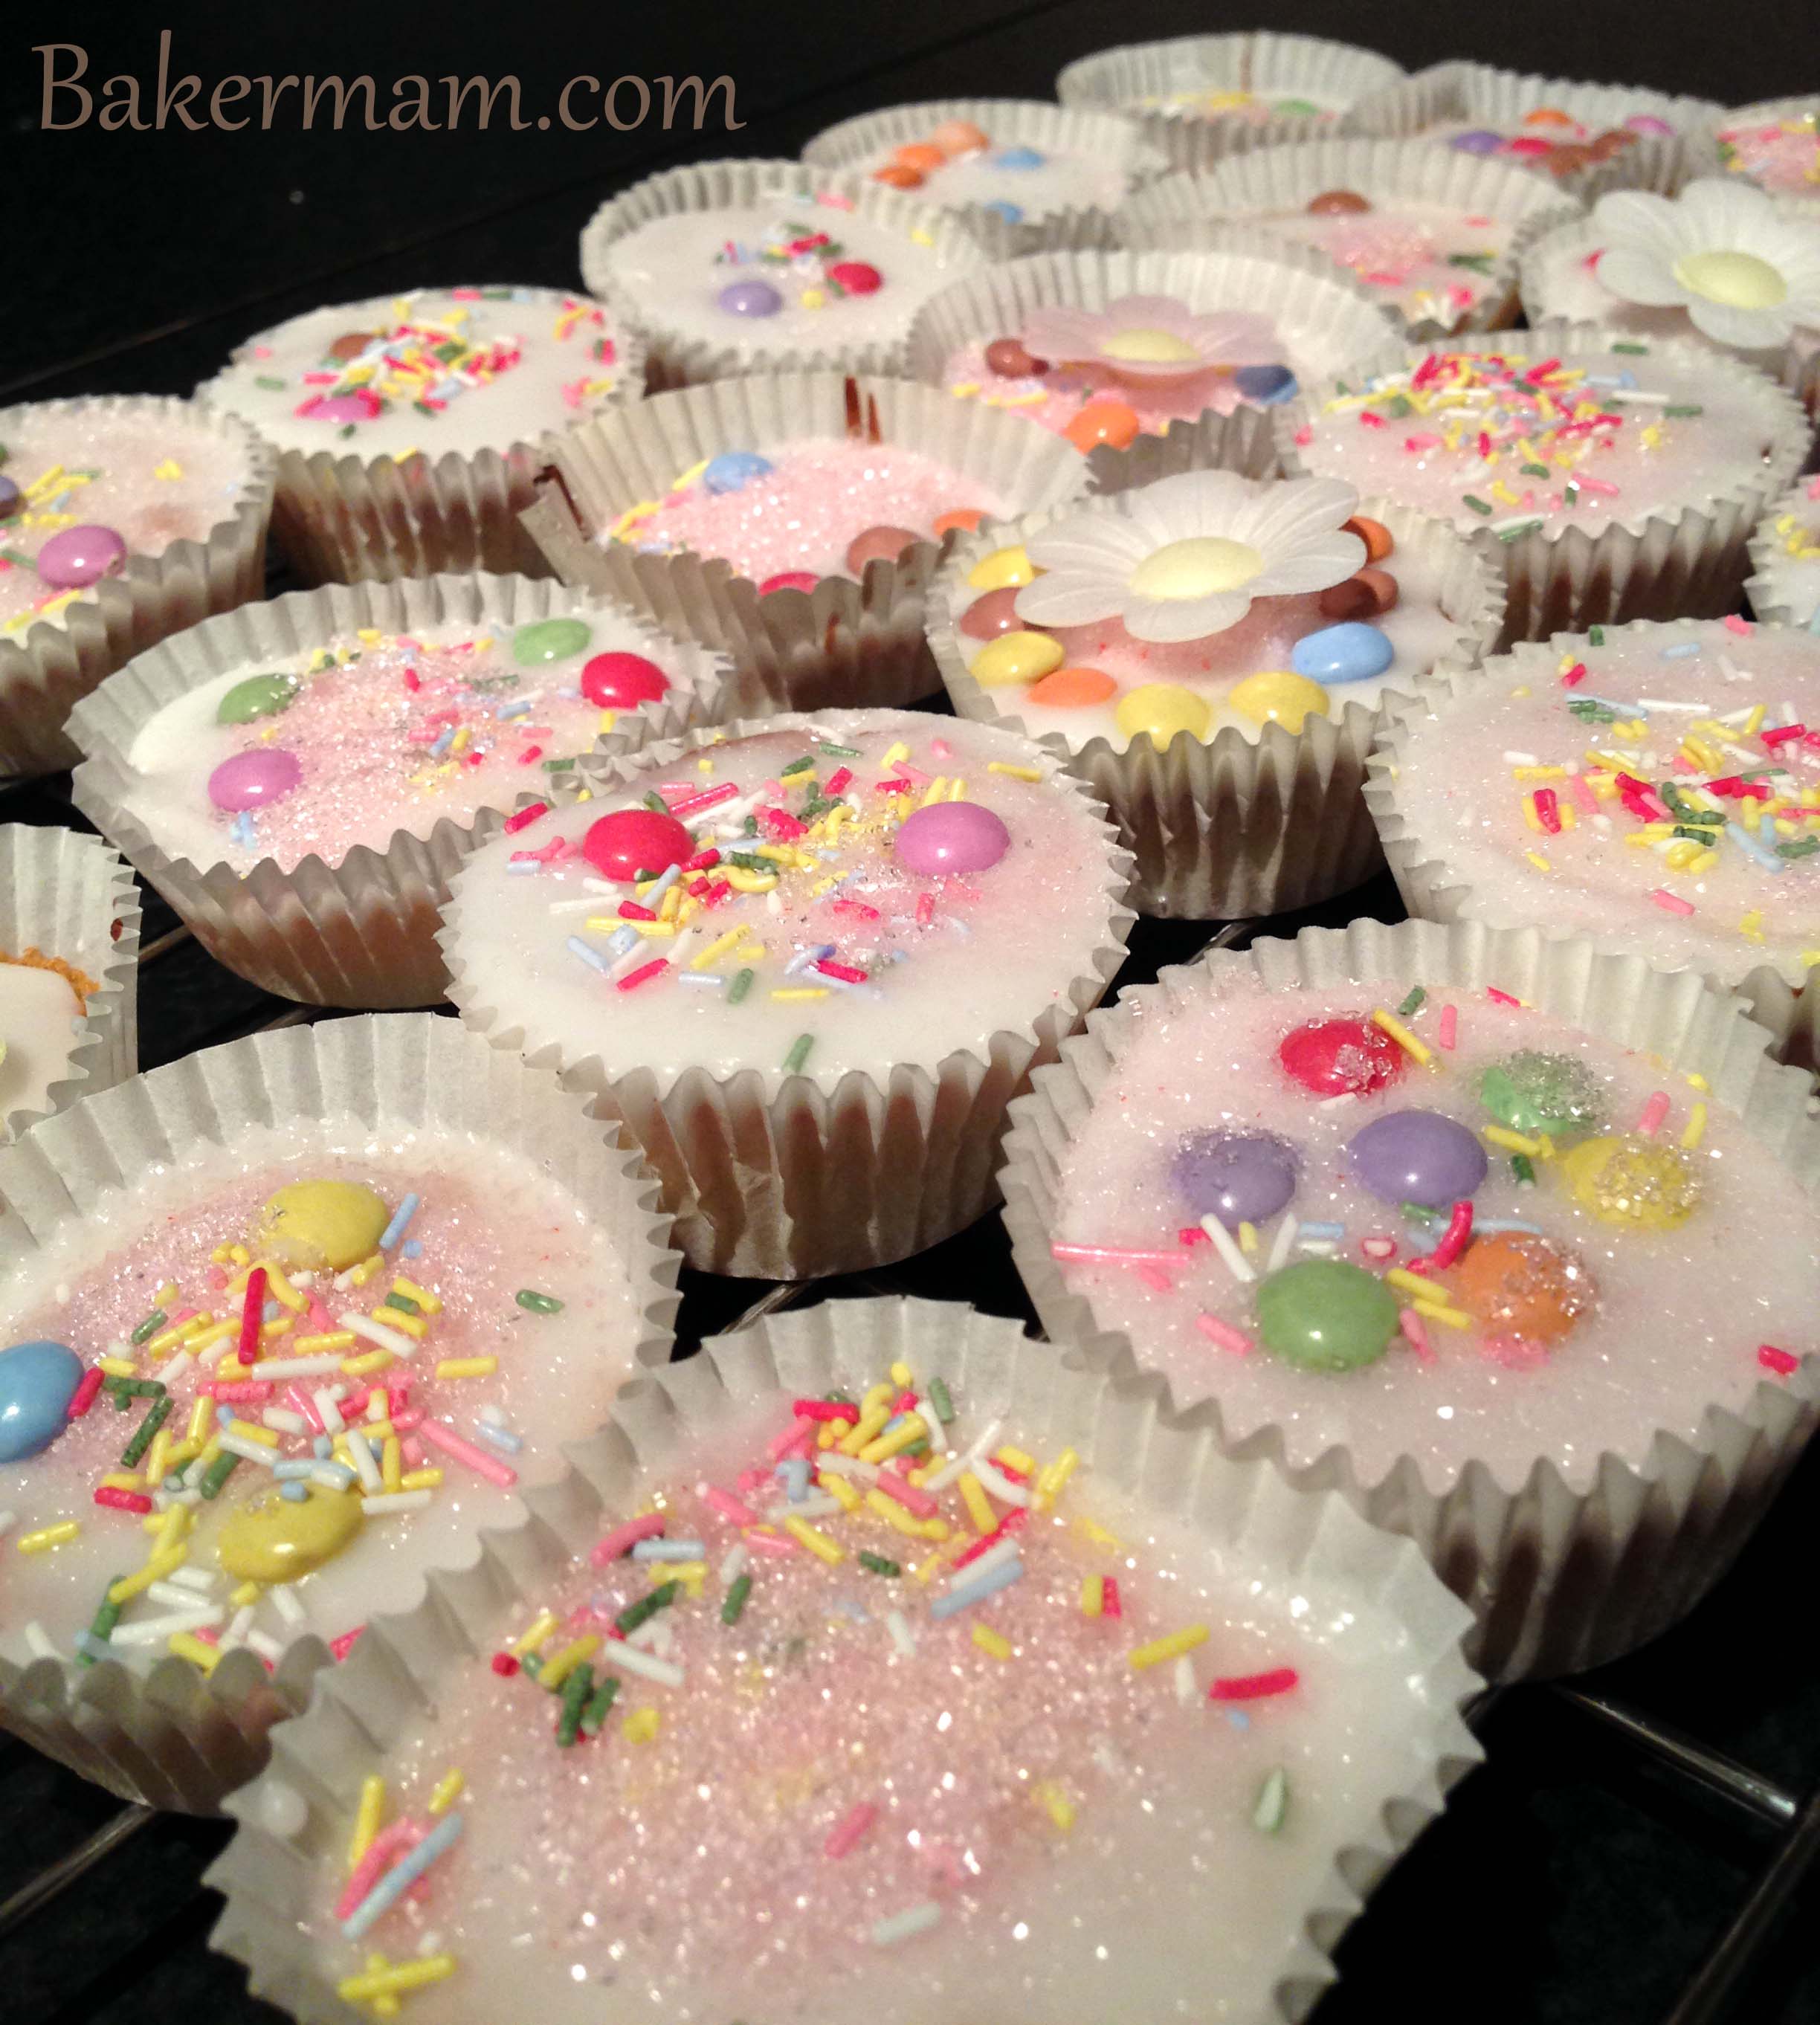
If you are thinking of making a Christmas present for your child’s teacher, I have a suggestion: Good Apple Fairy Cakes.

Apple Fairy Cakes for Teacher

Apple Fairy Cakes for Teacher

They are very easy to make.

1st make the Vanilla Fairy Cakes from my previous post up to and including icing them.

To Decorate:

You will need:

  • Red Sugar Paste
  • Brown Sugar Paste
  • Edible Gold Glitter Stars.
  • Edible Glue

You can find the sugar paste in most supermarkets, they are sold in small packs of 250g

The edible glitter I bought in a baking accessory shop, if you don’t have it, you can substitute with hundreds and thousands.

Take a chunk of red sugar paste and roll it into a ball about 3cm in diameter, using a narrow instrument like a bulbulous cone modelling tool or the end of a thin utensil handle, make a small dent in the top of the ball to shape it like an apple.

Repeat for the amount of cakes you are making.
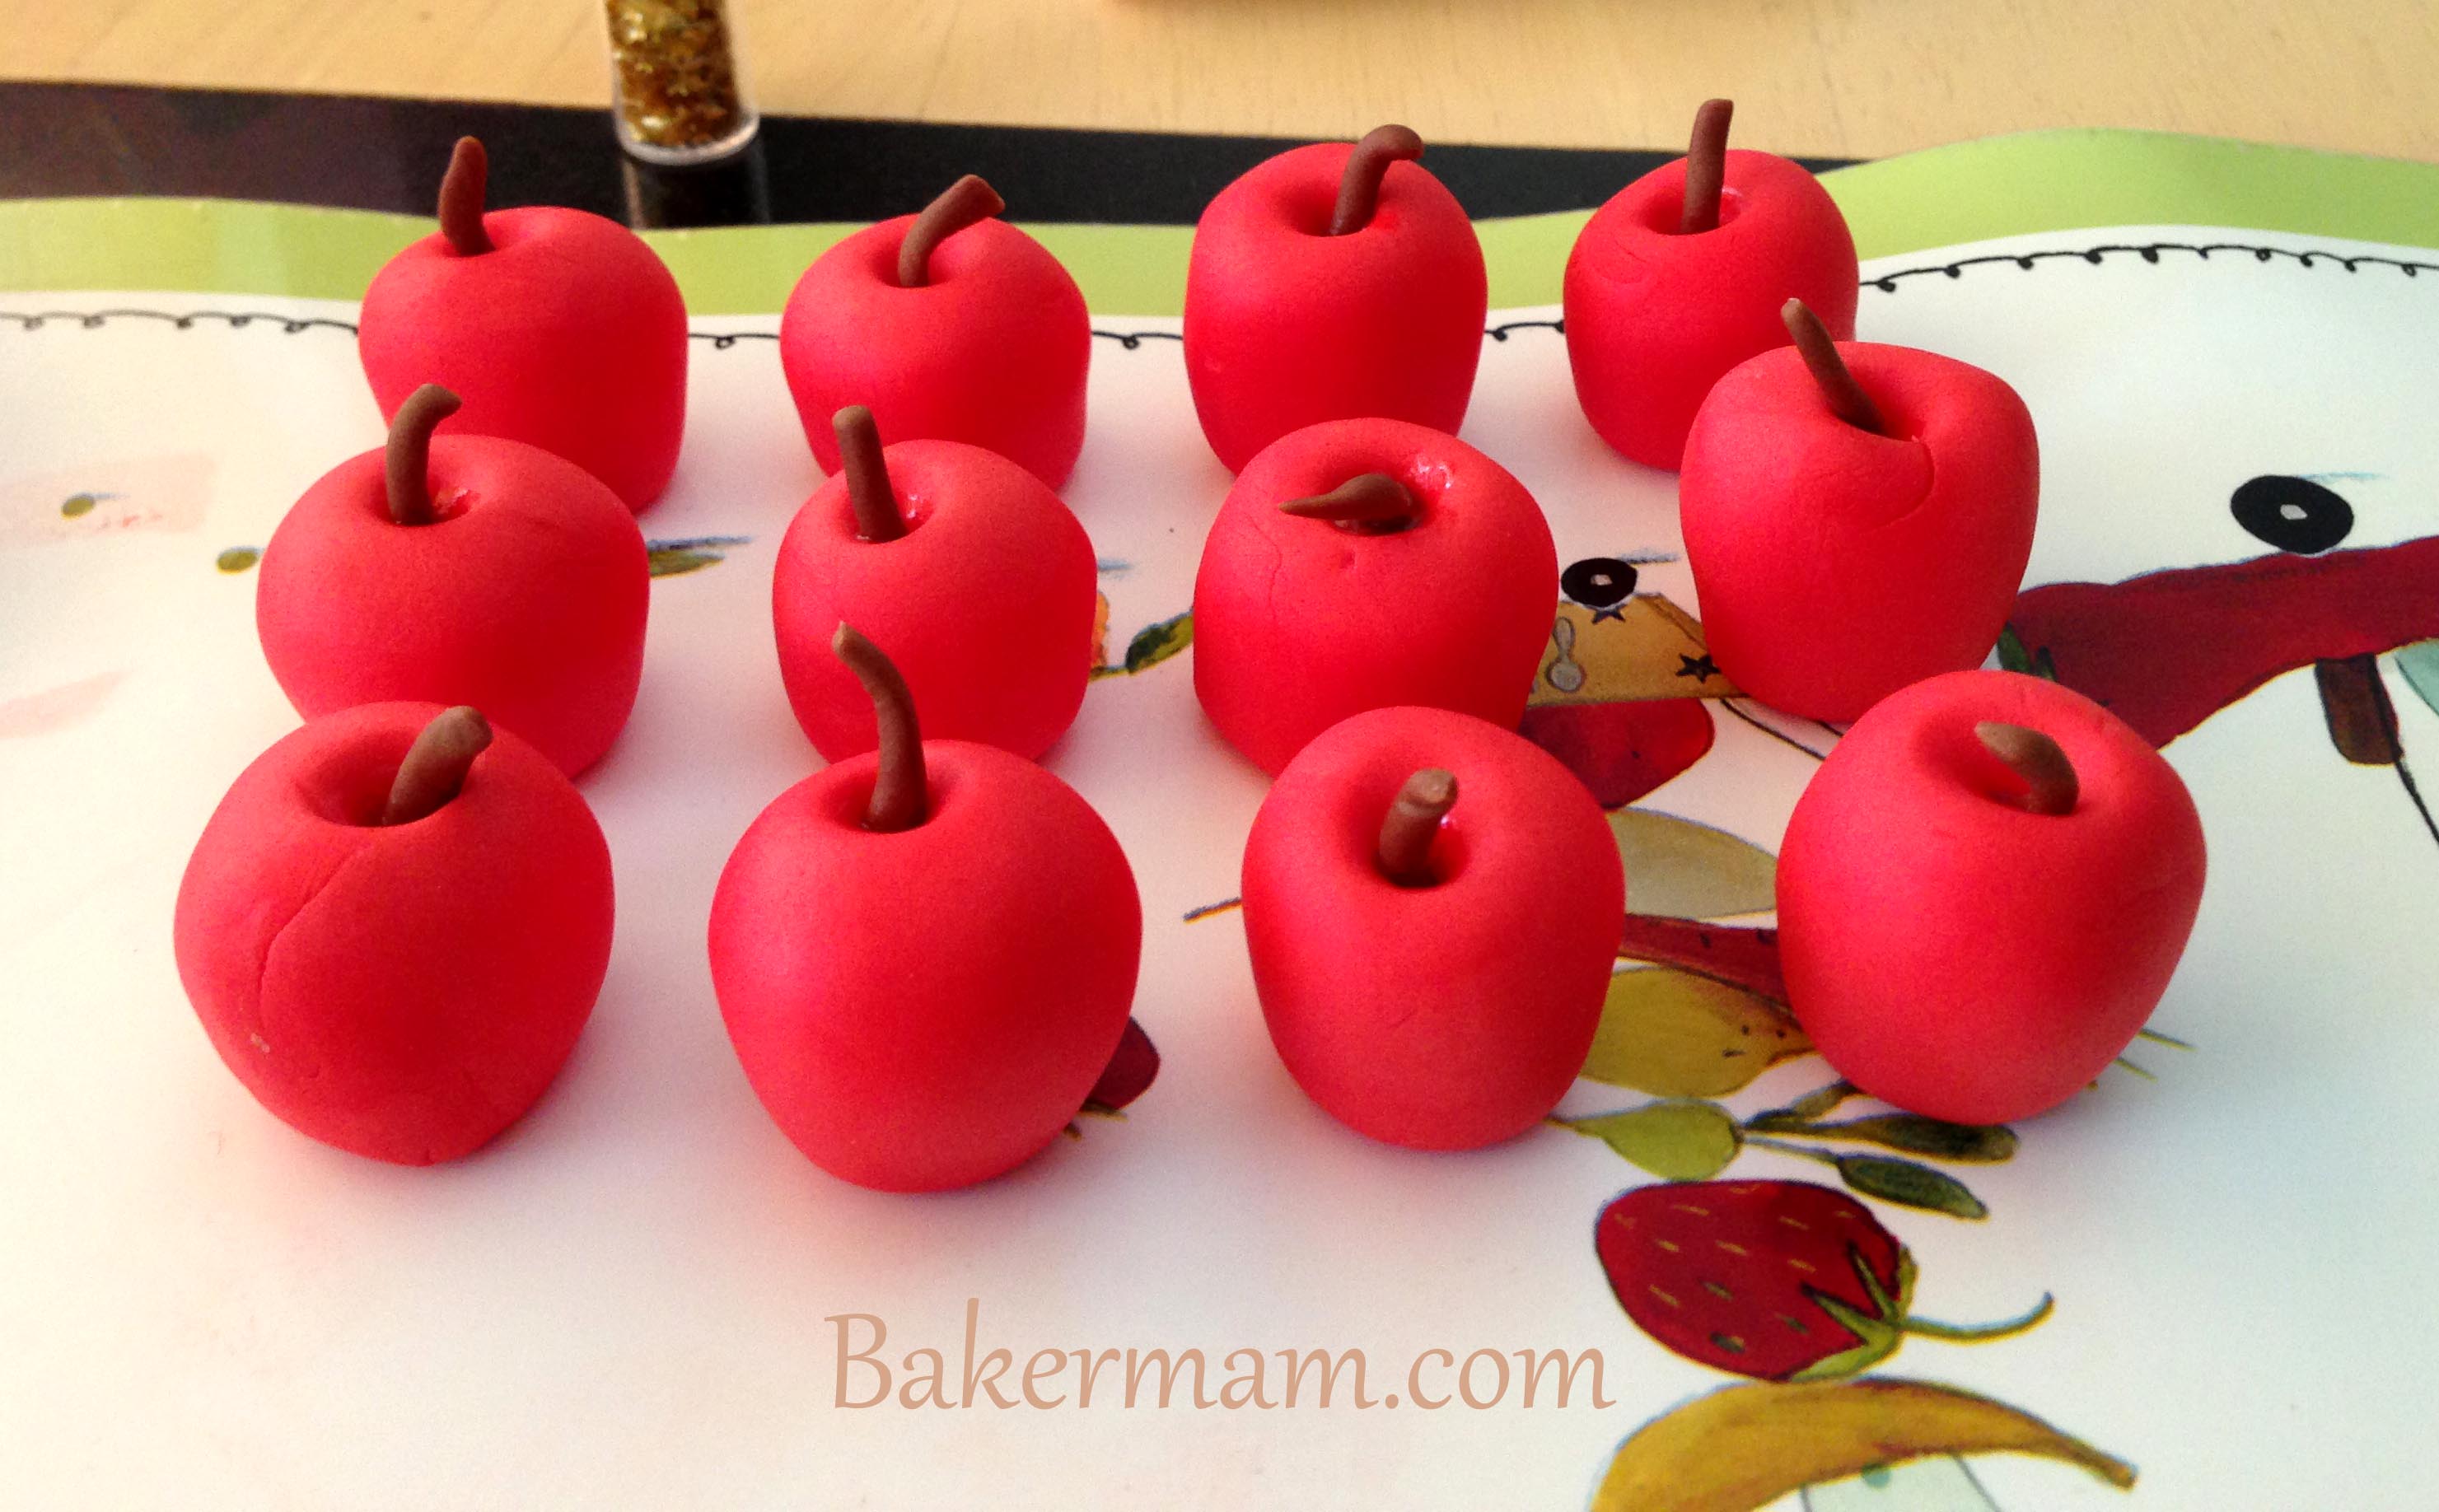
Sugar Paste Apples

Sugar Paste Apples

Next, the apple stalk. Take the brown sugar paste (usually chocolate flavoured so it smells lovely.) pinch a small amount and roll it into a worm shape, then cut into pieces 1cm in length, bend each piece slightly. Using a clean brush, place a small amount of edible glue in the well at the top of each apple and add the stalk.

Sprinkle the gold stars over the top of the cakes and voilà! You’re done!

An Apple for Teacher

An Apple for Teacher

Advertisement
3

White Chocolate Ganache Cake

Now this is a great cake to make for very special occasions, it is originally suggested as an Anniversary Cake by Rachel Allen but when I last made it, it was for Easter and with a little imagination you could decorate it to suit more of a Christmas theme.

White Chocolate Ganache Cake

White Chocolate Ganache Cake

Ingredients:

  • butter, softened, for greasing
  • 4 eggs
  • 125 g caster sugar
  • 125 g plain flour, sifted, plus extra for dusting
  • 1.50 teaspoon baking powder
  • 50 g white chocolate, as chips or chopped into pieces
  • Chocolate Flakes and Cadbury’s Mini Eggs to decorate

For the Ganache:

  • 300 ml double or regular cream
  • 400 g white chocolate, in drops or broken into pieces
  • 75 g butter, softened and cut into 2cm cubes

To Make:

First make the ganache. Place the cream in a large saucepan and bring to the boil, stirring occasionally, then immediately remove from the heat and stir in the chocolate.
Stir to melt the chocolate – you may need to place it back over a low heat, just so all the chocolate is melted. Remove from the heat and allow to cool until tepid.
Add the butter to the melted chocolate, a few cubes at a time, beating the mixture until all the butter has been incorporated. Leave in the fridge for about 2 hours, stirring a couple of times as it cools. It should stiffen but still be spreadable.
Make sure to take the ganache out of the fridge at least 30 minutes before icing the cake. It may be necessary to beat the mixture with a wooden spoon to make it spread more easily.

To Bake:

While the ganache is cooling, you can make the cakes.
Preheat the oven to 180°C. Butter the sides of the cake tins and dust with flour, then line each base with a disc of baking parchment.
Using an electric food mixer, whisk the eggs and sugar together on a high speed for several minutes or until light and mousse-like.
In a separate bowl, mix together the flour, baking powder and chocolate pieces, then fold into the egg and sugar mixture. Divide the batter between the prepared tins and bake for about 25 minutes or until golden on top and lightly springy to the touch.
Remove from the oven and allow to cool in the tins for 10 minutes, then loosen around the edges using a small, sharp knife. Carefully remove each cake before transferring to a wire rack to cool down fully.

To Decorate:

When the cakes are cool, place one upside down on a cake plate or stand, then spread over some of the ganache to about 4–5mm thick.
Place the second cake on top the right way up and use the rest of the ganache to cover the cake completely. Using a palette knife or the back of a spoon, lightly flick the ganache to make peaks all over the cake.

You can decorate the cake to suit whatever theme you have in mind, for the Easter theme I used Cadbury’s flakes shaped into a nest and added 3 mini-eggs. I also lined the bottom of the cake with mini eggs.

0

Apple Meringue Cake

One of the more unusual cakes I have ever made is a birthday cake for my Nana. I asked her what cake she would like and she replied that she would love an apple tart (Easy Peasy I thought) with meringue on top! (Erm… not so easy) and if a cake like that appeals to you, this recipe is a must.

apple meringue cake

Apple Meringue Cake

First Step is to make the Apple Cake, the recipe for that is here: Make sure that the apple crumble cake is ready and cooled before you make the meringue icing.

Ingredients:

  • 4 large egg whites
  • 250 g caster sugar
  • Pinch of salt

It is also preferable that you have a piping bag with a 4 or 5 mm star shaped nozzle

To Make:

Place all the ingredients in a heat proof bowl, add 2 tablespoons of cold water and set over a saucepan of simmering water.

Whisk slowly, using a balloon whisk until the sugar has completely dissolved and the mixture is foamy. Continue to heat and whisk until the mixture reaches 60°C when measured with a sugar thermometer – this will take about 4 minutes.

Quickly remove the bowl from the pan and pour the mixture into the bowl of an electric food mixer fitted with the whisk attachment. Whisk on a high-speed for about 3 to 5 minutes or until the frosting is very thick, glossy and has cooled.

Pour the icing into a piping bag and pipe over the cake in swirling motions.

I warmed the cake up in the oven before serving.

apple meringue cake

Nana’s Apple Meringue Birthday Cake

0

Vanilla Biscuits with a Raspberry Filling

This recipe uses the Vanilla Biscuit Recipe from a previous post and a divine raspberry filling, both come from separate recipes in The Great British Bake Off Book

Vanilla & Raspberry Biscuits

Vanilla & Raspberry Biscuits

Ingredients:

  • 225g unsalted butter, softened
  • 200g caster sugar
  • 1 large free range egg, at room temperature
  • 1 teaspoon vanilla extract
  • 450g plain flour
  • Good pinch of salt

You will also need mixed shaped cutters and a smaller one to make a whole in the middle. 2 baking sheets lined with baking paper.

To Bake:

Beat the butter with an electric mixer until creamy. Gradually beat in the sugar.

In a small bowl beat the egg and vanilla together with a fork until frothy, then gradually beat into the butter mixture. Sift the flour and salt into the bowl and work them into the butter mixture with your hands to make a shortbread–like dough. Bring the dough together into a ball, then flatten to a thick disk. Wrap in cling film and chill for 20 minutes until firm enough to roll out.

Roll out the dough on a lightly floured worked up to 4mm thickness.Cut out shapes using floured biscuit cutter, then use the smaller cutter on half of the shapes, then gather up the trimmings into a ball and re-roll and repeat. Arrange the shapes well apart on lined baking sheets and chill for 10-15 minutes.

Preheat the oven to 180°C.

Bake for about 12 minutes until a pale gold colour. If necessary rotate the baking sheets halfway through baking so the biscuits colour evenly. Leave the biscuits to cool on the baking sheet, then carefully peel from the lining paper.

For the filling:

  • 200g of raspberries
  • 2 teaspoons cornflour
  • 3 tablespoons caster sugar
  • Icing sugar, for dusting

To make the filling, put the raspberries, cornflour and caster sugar into a medium-sized pan. Set over medium heat and stir gently onto the juices start to run and the fruit softens. Bring to the boil and simmer for two minutes, stirring, until thick. Pour into a heat proof bowl and leave to cool.

To assemble, spread the cold raspberry filling over the uncut biscuits, then top each with a cut out shape. Dust with icing sugar. Once filled, eat the biscuits the same day. The unfilled biscuits can be stored in a air-tight tin for up to 4 days, and the filling can be kept covered in the fridge for 4 days.

1

Vanilla Biscuits

We bought some cute biscuit cutters and decided to test them out on my favourite biscuit recipe. The recipe is from The Great British Bake Off Book.

Vanilla Biscuits

Vanilla Biscuits

Ingredients:

  • 225g unsalted butter, softened
  • 200g caster sugar
  • One large free range egg, at room temperature
  • 1 teaspoon vanilla bean paste
  • 450g plain flour
  • Good pinch of salt

To Bake:

Beat the butter with an electric mixer until creamy. Gradually beat in the sugar.

In a small bowl beat the egg and vanilla together with a fork until frothy, then gradually beat into the butter mixture. Sift the flour and salt into the bowl and work them into the butter mixture with your hands to make a shortbread–like dough. Bring the dough together into a ball, then flatten to a thick disk. Wrap in cling film and chill for 20 minutes until firm enough to roll out.

Roll out the dough on a lightly floured worked up to 4mm thickness.Using floured biscuit cutters, cut out shapes and then gather up the trimmings into a ball and re-roll and cut more shapes. Arrange the shapes well apart on lined baking sheets and chill for 10-15 minutes.

Preheat the oven to 180°C.

Bake for about 12 minutes until a pale gold colour. If necessary rotate the baking sheets halfway through baking so the biscuits colour evenly. Leave the biscuits to cool on the baking sheet, then carefully peel from the lining paper.

7

Olive Oil Bread

This is a lovely, easy to make white loaf. I first saw this recipe on BBC’s Good Food by Mary Cadogan. It was such an easy recipe and it tasted so good that I never looked anywhere else for my perfect white loaf.

Olive Oil Bread

A lovely white loaf

Ingredients:

  • 7g sachet easy-blend yeast
  • 500g strong white bread flour, plus extra for dusting
  • 2 tsp salt
  • 1 tsp sugar
  • 2 tbsp olive oil

You will also need a kitchen mixing machine and a dough hook.

To Bake:

Add the flour to a large mixing bowl, then stir on the yeast. Add the salt and sugar.

Pour 100ml boiling water in to a jug and top up with cold water to make 300ml. Add the oil.

Make a well in the centre of the dry ingredients and pour in the liquid all at once. Mix quickly using a dough hook, when the dough is smooth, cover the bowl with a tea towel and leave it to rest for 1hr. The dough is ready when it springs back when you press it with your finger.

Heat oven to 220C.

Tip dough onto a floured surface, knead to remove air bubbles. Shape into a round, place on an oiled baking sheet and slash top with sharp knife making 3 diagonal lines. Cover and rise for 30 mins. Uncover and bake for 30-35 mins until browned and crisp.

0

Irish Cookbooks 2013

I came across a great blog post highlighting some of Ireland best new Cookbooks, whilst I do like to search for food inspiration on-line, nothing beats having a proper cookbook on a shelf in your kitchen.

So if you’re looking for a new book for the collection or know a foodie that you need to get a Christmas gift for, this Edible Ireland Cookbook round-up is essential reading: http://edible-ireland.com/2013/11/27/irish-cookbooks-2013/

4

Vanilla Fairy Cakes

This is definitely one to do with the kids. Zoe absolutely loves helping to make these and having total control over the decoration! The recipe for the vanilla sponge is from Rachel Allen’s Food for living with a simple white icing topping.

image of Zoe and her Fairy Cakes

Zoe, so proud of her work she photo bombed this pic lol

Ingredients:

  • 75ml milk
  • 25g butter
  • 75g plain flour
  • 1/2 teaspoon baking powder
  • Pinch of salt
  • 2 large eggs
  • 1 teaspoon vanilla bean paste
  • 125 g caster sugar

For the Icing

  • 200g Icing sugar (sifted)
  • Boiled water

To Bake:

Preheat the oven to 200°C. Place cupcake cases in a bun tray. The mixture is intended to make 12 cup cakes but I make 24 smaller fairy cakes so there are more to decorate! So if you are planning to the same as me, you will need 2 bun trays.

Heat the milk in a saucepan until it almost comes to the boil, take it off the heat, add the butter and stir until it has melted in the milk. Set aside.

Sift the flour and the baking powder, add the salt. In a separate large bowl, beat the eggs and vanilla bean paste with an electric hand mixer until it is light and fluffy, about 10mins. (It’s at this point that Zoe usually does some colouring while I mix) Gradually beat in the sugar until thick and moose like. Turn the speed down and blend in the flour then the milk. Stop beating as soon as it’s all mixed in.

Spoon into each paper case and bake in the oven for 15 minutes or until golden and firm to the touch. Allow to cool slightly in the tin before moving to the wire rack and icing.  Now spooning the mixture in with two spoons is fine but I got a batter pourer and haven’t looked back, makes buns very easy to pour indeed!

Icing:

Sift the icing sugar into a bowl, gradually add 4 table spoonfuls and beat with a spoon until the required texture. You may need to add more water a little at a time to get the right consistency. When ready pour on the cupcakes to cover .

Now for the fun bit:

Decorations! There are too many things to list on here to decorate but some of Zoe’s favourites are mini smarties, pink sparkles, edible flowers, multicoloured sprinkles. Let the little artists do there thing and see the pride in their little faces when they’re finished!

Decorated fairy cakes

Decorated fairy cakes